Showing posts with label project bag. Show all posts

Thursday, 9 April 2026

A few things happening in April.

 I have a finish and it’s ready for Scrub Stitchin’. My binding is sewn. I love it too.


it looks so lovely laying on the green grass. The colours are so pretty.

I also have our sew along ready to piece together for Scrub Stitchin’.

too. Chooky and my adjusted Simply Serene.

And I have some secret sewing for Scrub Stitchin’.

too. Mmmm I wonder what is going on here!!!!!

I have been busy but I managed some PINK sewing for April.

too. This is a project I will work on soon. It will become a project bag with a clear plastic window front.

And I have these flowers popping up in my garden.


As for the Chookshed challenge # 10, mine was left as to do anything. This worked well and fits in perfect for Scrub Stitchin’. I have picked up a few new projects and a couple of old ones. I’ll choose at the end of the month to share more on my progress.

I am really looking forward to next week.

Wednesday, 11 February 2026

Rainbow pencil case and project bag


I decided to have a bit of a play around with some scraps. I saw a quick YouTube tutorial how to make a pencil case. I thought they looked fun.


Off I went and four pencil cases later here they are.


I then made a colourful project bag.


A clear vinyl front


And a matching rainbow back.


We are to make a project bag for this years Kris Kringle. 
A few of my friends want to know how I make mine so I will be holding a little workshop for them. The way I make these and sew the plastic in with no fuss is different than most tutorials. You end up not sewing on the plastic but it is sandwiched between fabric. This makes it a bit easier. Also, the lining is sewn in and all the seams are enclosed. This looks so neat. All you need to do to finish it is sew the turning opening closed.
I enjoy making them.


Thursday, 18 December 2025

A birthday and Xmas gift made

So I have been busy making gifts.

1st up was a project bag for a 70th birthday. It’s always tricky knowing what to make but us sewers can always use a project bag.


The back


Then to use up some selvedges made it more special. This person knows the meaning behind them and it was well received.


Making the plastic window


Next up was a quick Xmas table runner.  It was an easy one and was loved. My friend’s table theme was going to be red this year. So this matched perfectly. What a guess.

I received a few beautiful gifts too. I also handed out quite a few Xmas decorations and they were put on the trees straight away. All in all a great week seeing friends for Xmas.

This was a special gift made for me from someone I have known for 50 years. She wasn’t sure if I would use it where I lived. I loved it. I have not ever knitted a blanket for myself or been given a gift like this. So special. My friends table theme hasn’t been to this house so didn’t know my colours but it matches perfectly.


Sunday, 2 March 2025

February & March CHOOKSHED challenge

 I know it’s a bit late but here it is.

February I was to work on making project bags/pouches. 

So here is bag no. 7. I think I like how this one is working.


I decided to put a plastic front so I can see what’s in the bag. I received this fat quarter for a birthday swap a few years ago. I love it. I started by sewing a border around the plastic edges so there was no plastic in the side seams. So much easier.


I started attaching the zip before I realised I should have turned the top strip up the other way. Oops. I’m not changing it.


I did all the sewing and am really happy. Time to turn it out the right way.


So the printed panel that was supposed to be the front of the bag I put in as the lining in the middle. It can be seen through the plastic window. I think this is my favourite so far. 


All up, 7 project bags made and 1 chocolate zippered pouch.


I did email the chocolate company the photo of what I did.

11

 Hi Jo,

Thanks for reaching out and for your patience as we got back to you! It's been a busy choco season at Tony's, and that can affect our response time.. we make sure to answer every message, and we're happy you got in touch with us. :)

OMG we love what you did with our wrappers! We shared the photos you sent with the whole Tony's US team.. definitely a highlight of our week. We're so grateful to have such creative chocofans, and we're so thrilled that you shared photos of your bag with us.  

Thanks again for taking the time to reach out to us with your awesome bag.. we hope you have the sweetest weekend!

Choco cheers, 

Megan
 
width=

Now for March # 2 challenge project.

Mine is to get this quilt quilted. 

I have started, actually, done more than I thought.
As you can see by this block the top was done in 2019-2020. 

It has some quilting done already so it’s time to get it done. 

Now is time to link up with Deana and go see what everyone else has done in February and what they will be working on in March


Wednesday, 19 February 2025

No. 10 for the CHOOKSHED Challenge ….6th project bag made.

 I am really having fun making all these project bags/pouches.

Here is my pouch no.6 for the month.

The panel is making it so easy to assemble and decide on fabric. I just have to choose a lining.


Saturday, 15 February 2025

A fun pouch for CHOOKSHED challenge

 I am having fun making my project bags this month. This was what I listed to do for my no. 10  on the challenge. I’m so happy to be getting them made.

Ok this isn’t going to be a normal lined bag but one with a vinyl front. So, this is the one I chose. It was one of the larger pouches in the panel.


I cut the sections apart and quoted the back of the pouch just with the wadding. I had a play and tried out a lot of stitches on my machine. You can’t really see them on the outside but on the wadding you can see the patterns. 


After watching a few of the tutorials I mixed steps of them together and came up with a lined, vinyl front pouch, with no exposed seams.


It worked out great.


Tuesday, 11 February 2025

Another project bag with a see through vinyl front using my Kawandi.

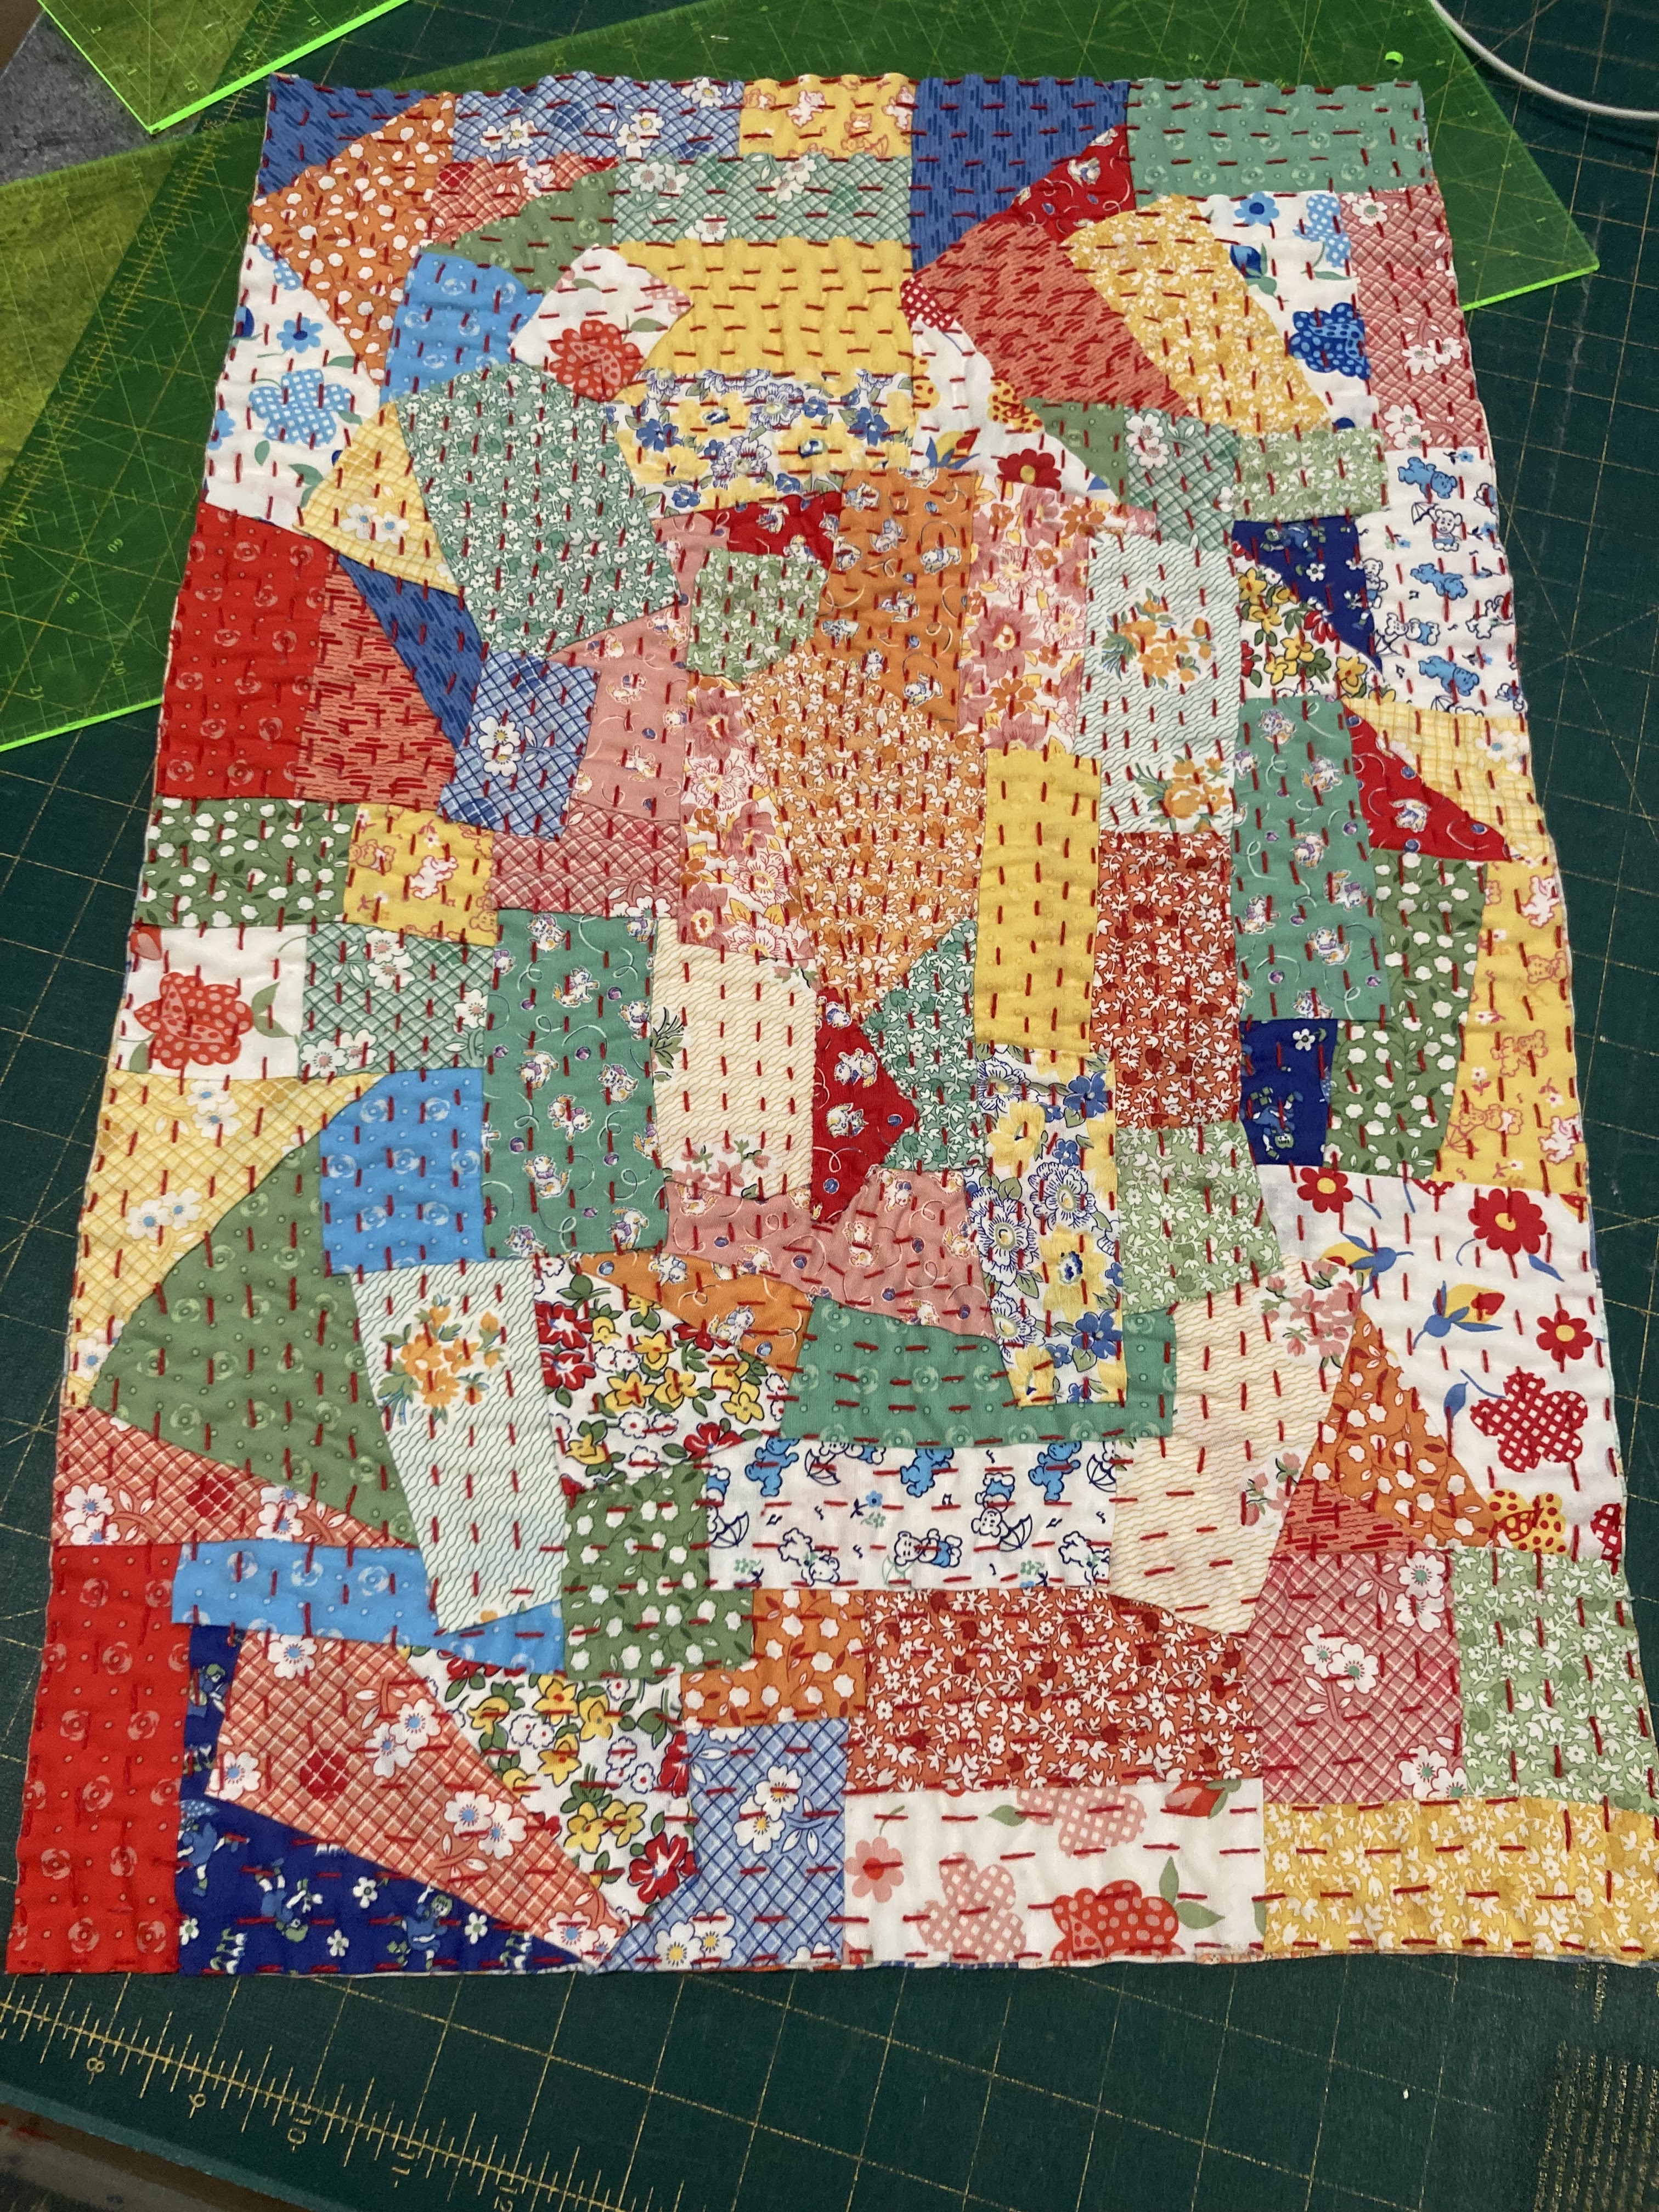
 I made a Kawandi cloth quite a few months ago. This took a full charm pack because I cut the pieces up small.

with the intention of making a bag but life changed, choices changed and it was packed away. Clean up time happened and out it came.

I decided to make it into a project bag with a clear front so I can see what is in it. So I gathered a long zip, a piece of vinyl and some red binding fabric.


I machine sewed a binding on all the way around the vinyl using a longer than normal stitch


Then made 2 * 4” lengths for the loops.


Because the Kawandi is a finished piece I sewed the zip straight to an end as well as the vinyl.


I just topstitched the fabric and vinyl to the top of the zip


Next, I sewed the loops onto each side over the ends of the zip.


Time to cut the zips off level


Sew the loops to the other side and reinforce the zip


Attaching the bottom edge of the vinyl to the Kawandi is a bit tricky. Open the zip, layer the kawandi on top of the binding on the vinyl and top stitch.


The pouch is now joined into a tube.


Lay flat and trim even on both side edges.


Topstitch close to the edges.


And your pouch is ready to use.


This has now got my Kawandi tablecloth project in it.

I have also been watching more YouTube tutorials and found Elizabeth Ann Can Stitch has some great ones.