Showing posts with label Zippered placemat. Show all posts

Friday, 26 June 2026

Zippered placemats for my brother and sister-in-law

We caught up with my brother and SIL when we’re in Melbourne a while back. They saw me using my zippered placemats. I thought I would surprise them and make some for them. I know they love bright colours so the hard part was choosing some fabric.

I had these mitred corners left over from a quilt I did at Judy’s of Cornerstone Creations. They were bright and perfect.

Then for my brothers I did rainbow stripes and caravans. They are always away in their van travelling all over.

And the backs were just as bright.

When they received their parcel they sent a message to say they loved them…

Happy days.

Friday, 31 January 2025

Using up more scraps

 Continuing with my clean up piles I finished off some placemats.


And a Xmas zippered placemat


I have put a napkin and cutlery in the pocket. This one is for me to use.


Then the smaller scraps 


were made into pin cushions.


They are good to put a few binding clips on and your sewing needle when stitching your bindings or other hand projects.


I want to get about 40 of these made by December. I am well on the way. I have about 14 already. I will continue to make these with the leftovers of other projects. It’s a finish up year…


Thursday, 21 April 2022

Pink RSC at Chooky’s retreat

 Well on Saturday at the retreat I did work with my scrap pinks. 

Then I started sewing them together again.
And I end up with these lovely placemats.


Have a look at what everyone else made. I linked up with https://superscrappy.blogspot.com/2022/04/scraphappy-saturday-transitions.html


Sunday, 3 April 2022

Happy birthday to my son ———- Some sewing, mending and retreat packing…..

Happy birthday to my son, JOHN. It was 10 years ago today we celebrated your last birthday together.  You would have been 28 today and a wonderful man. We are not allowed to let balloons go into the air any more. Please know we are sending these ones to you now.


I am slowly doing a little bit of sewing.

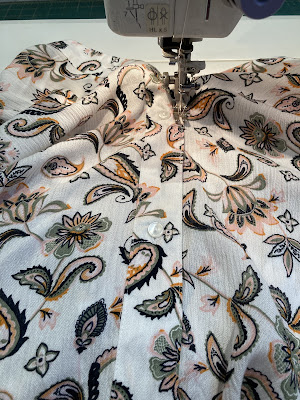
First up is some mending. Attaching a button, 
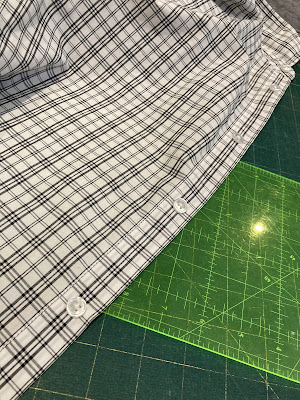
stitching the opening to close the gaping hole.
March over at Angela’s was YELLOW…. Soscrappy RSC challenge. April is PINK

https://superscrappy.blogspot.com/2022/04/scraphappy-saturday-digging-into-pink.html

Also TABLE SCRAP CHALLENGE at the Joyful Quilter. March was FLOWERS. April is WORDS

https://thejoyfulquilter.blogspot.com/2022/03/march-2022-table-scraps-challenge-link.html

I am on a mission to make more of these useful placemats. Out came all my yellow little scraps. Some strips & blocks leftover from a previous baby quilt and other bits.
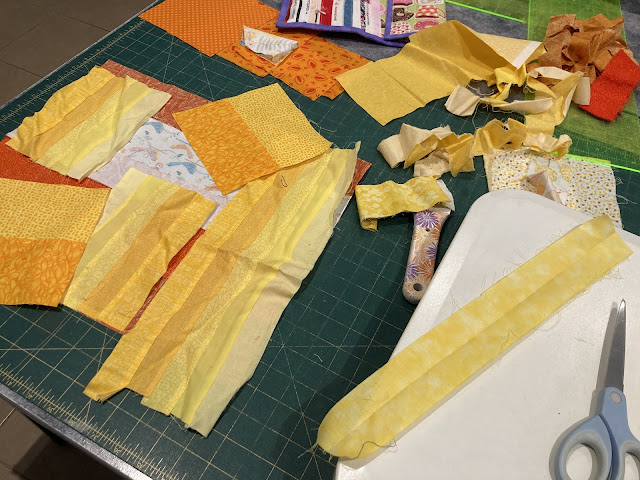
And in goes the zip.
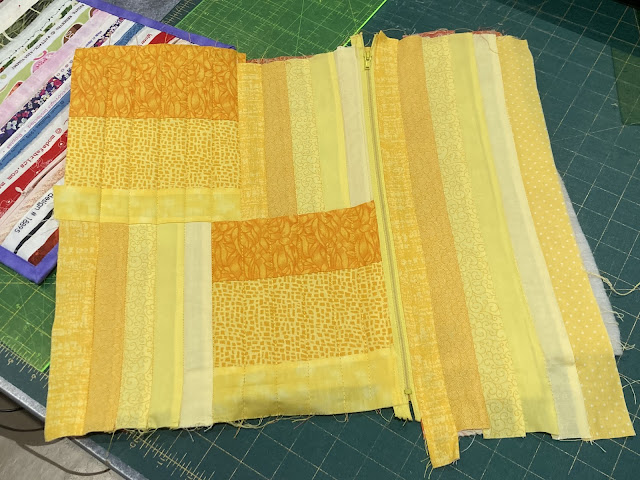
Now it is finished. Funny how this photo shows it as orange but it really is yellow.

Then on to my little doggy sew along.

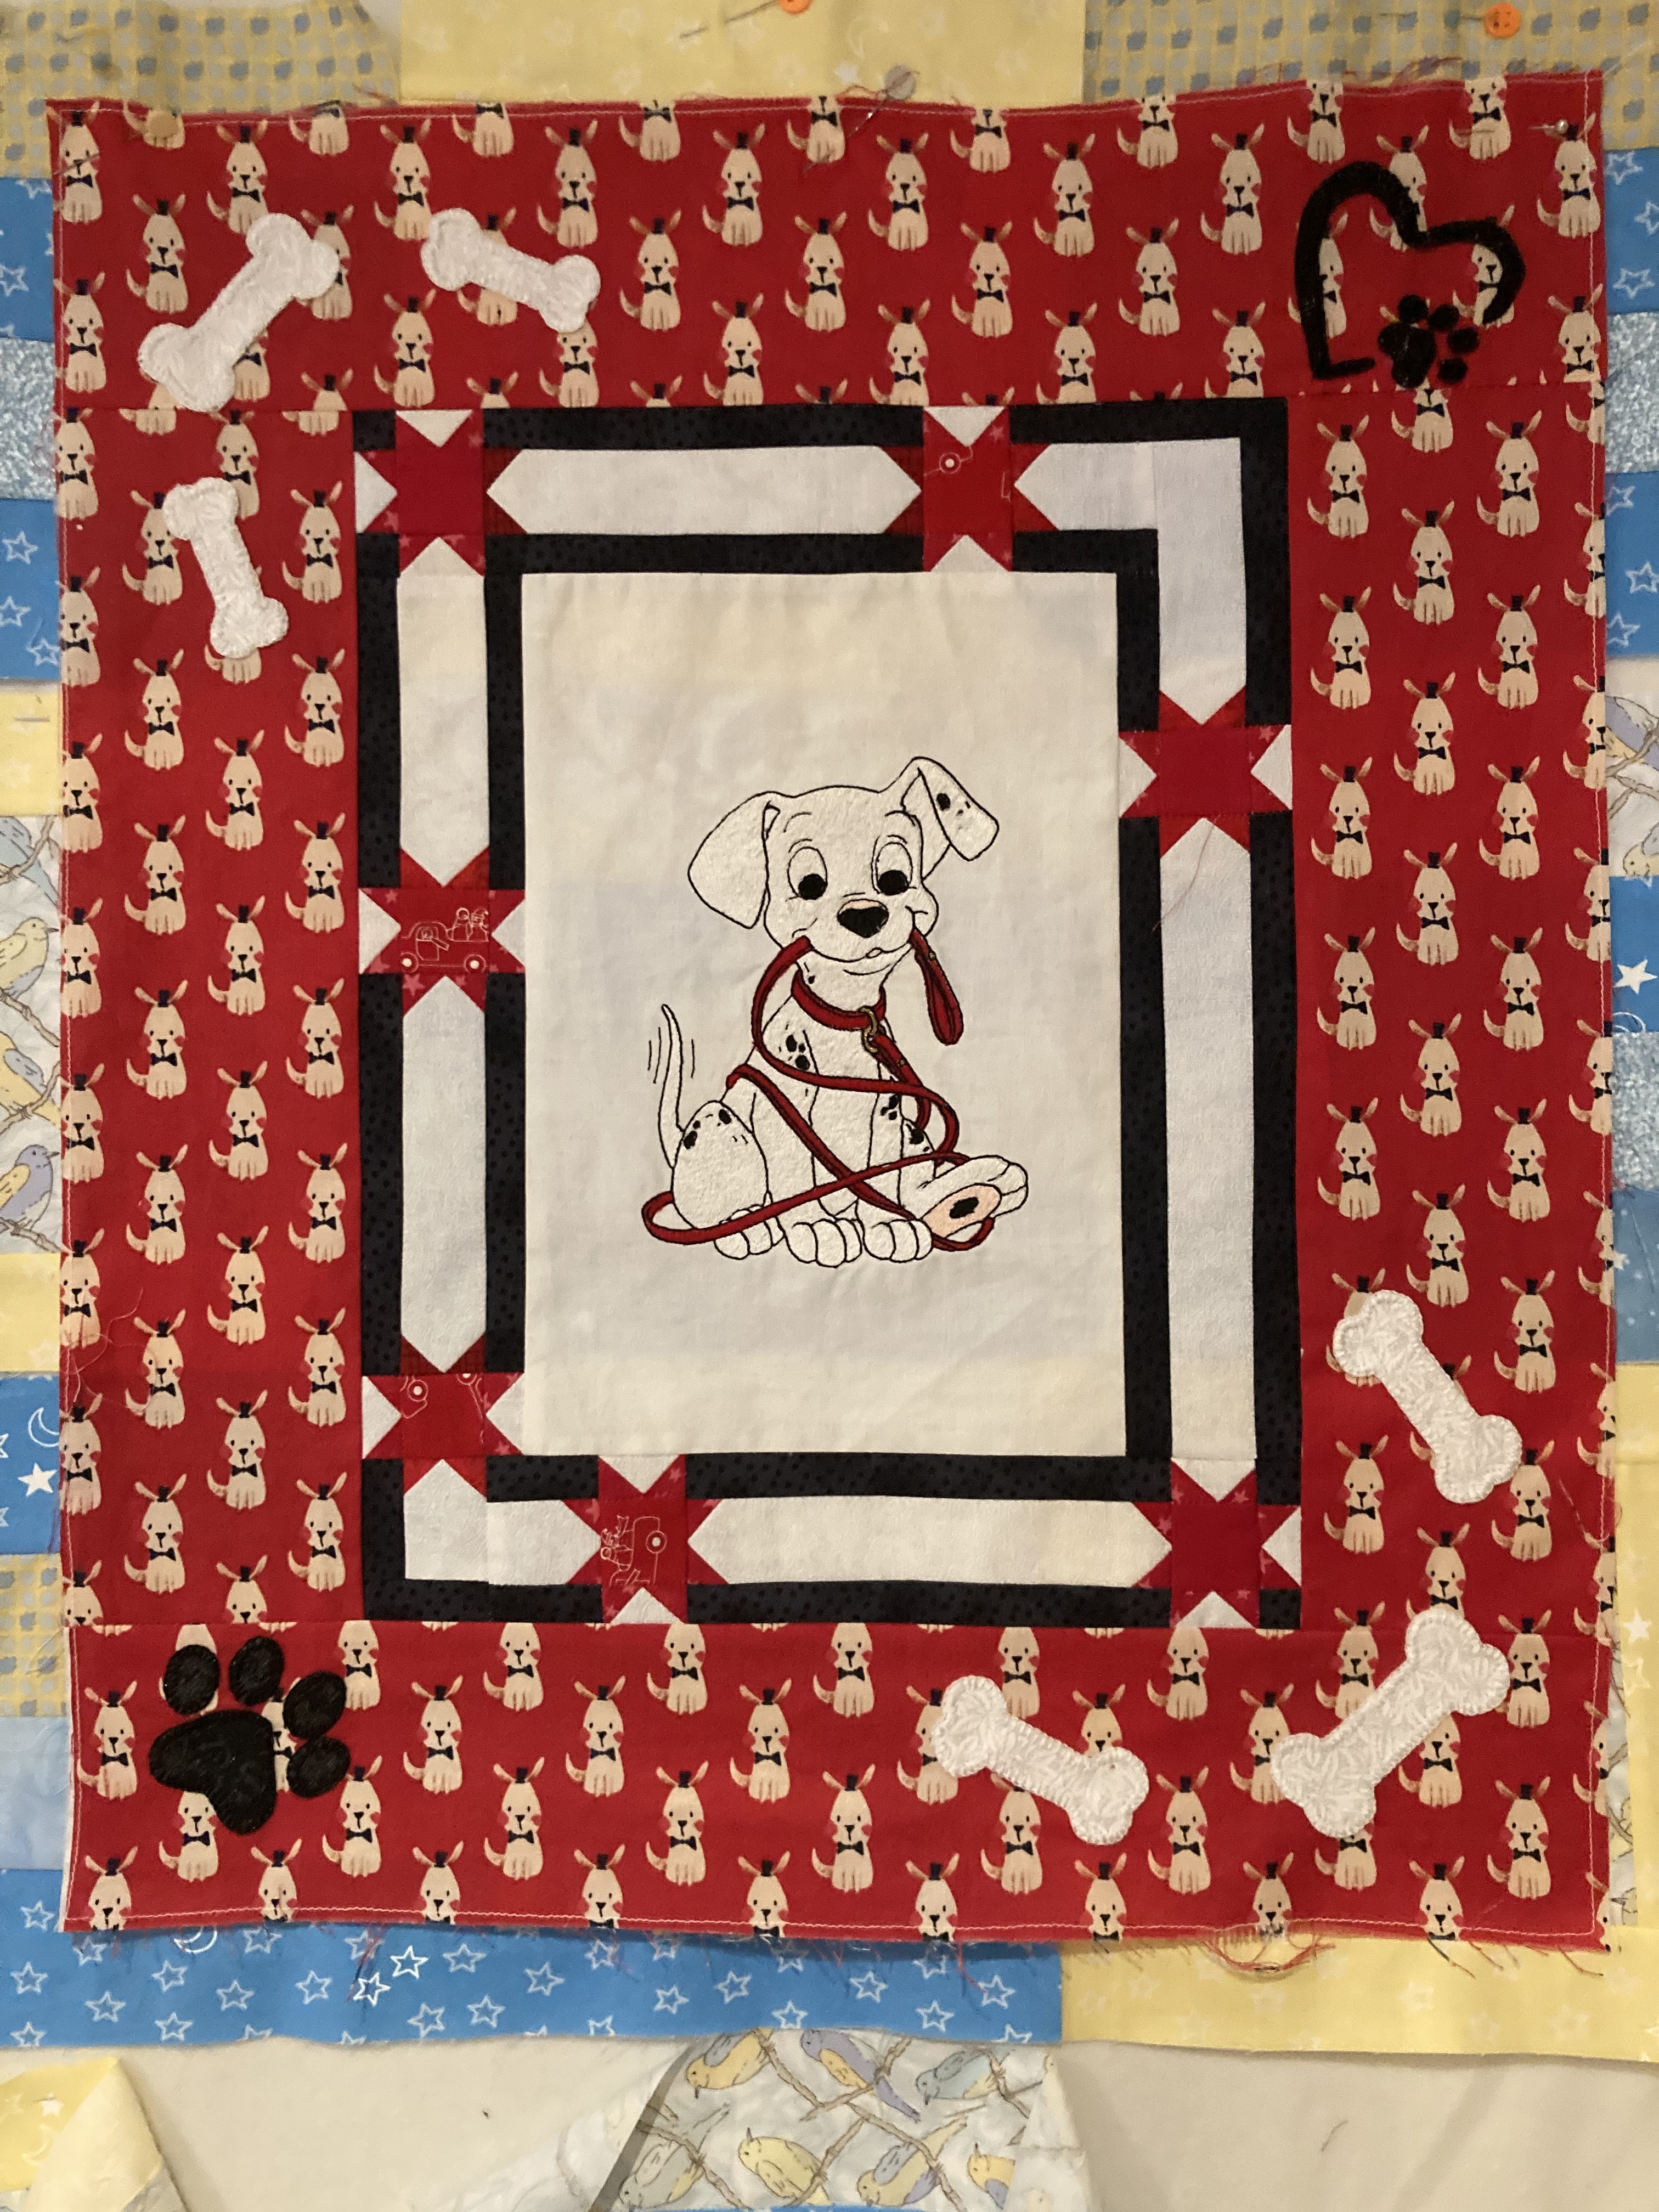
This month we are to work a border with appliqué. I knew exactly what I wanted to do. I bought this cheap fabric on clearance at Spotlight. I didn’t realise at the time it would fit this project perfectly. So, start with the borders. Careful of the directional design.
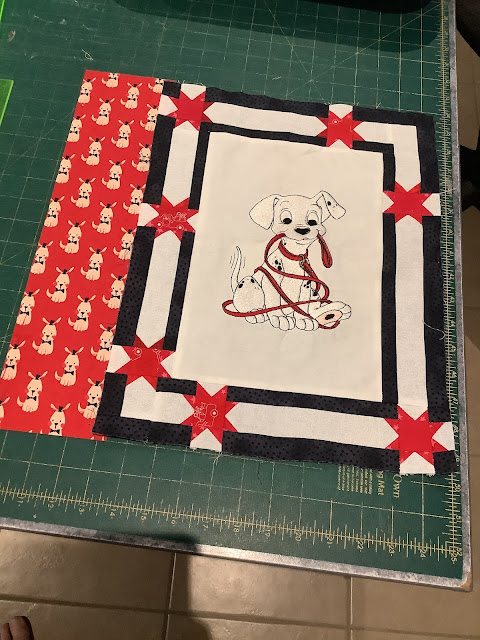
Isn’t he bordered so sweet.
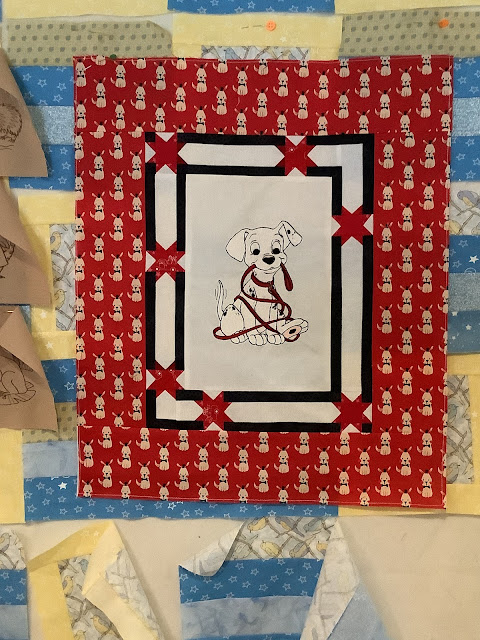
Here are the appliqué designs I chose.


I spent a couple of days doing the hand stitching. Look at where it is now. 


I have a little bit of hand stitching packed for retreat


I’ll be on my way to Scrub Stitchin’ soon to meet up with some blogging friends.
It’s about time we met in person.

Saturday, 7 August 2021

JO’s ZIPPERED PLACEMAT - QAYG style


 JO’s ZIPPERED PLACEMAT - QAYG style


First up you need to decide what size you want your placemat.
Mine was 11.75” * 14.25”

Cut a piece of backing and batting an inch bigger than required.
Layout your pieces you want for the top. You need to cover most of the left hand side, a zip, a piece for the right edge and a 8” strip for the cutlery pocket.


Now to start sewing. I’m not too good at explaining the steps so hopefully you can work it out with the pictures.
You need to lay the pocket piece right sides up with it folded so the side edges meet in the centre. The right fold should overhang the batting a little. Quilt a few lines through all layers to hold it in place.. about 3”. 

Start attaching one side of the zip. The left side.


Finish attaching the zip and sew the outer fabric, zip and pocket lining. This will form a tube where some of the pocket is secured to the batting. Top stitch the fabric either side of the zip. Yes, this is tricky.

Give it a good press. Top stitch the right hand side in place catching the top strip, pocket piece batting and backing. Trim the excess.


On the left hand side of placemat (photo is upside down) continue adding your strips sewing the seams through all your layers. QAYG. Press. Continue until the whole piece is covered.


Press, press, press. Before trimming stitch over the zip on top & bottom so it doesn’t pull apart. Now you can trim to square and neaten to the size required.


Bind and you are all done. 


You can use any orphan blocks, a solid piece of fabric or selvedges like I did.


Have fun.


Have a look at other table covers, mats, runners have been made.


I’m linking with FNWF