Monday 27 February 2023

Black and bling

 The other weekend I attended a weekend retreat at Jude’s . A breast cancer awareness fundraiser.

Well Saturday night was to be a ‘black and bling’ night. So the weeks leading up to my packing I had to sort out a few things. I went through my wardrobe to see what black outfits I had that fitted me. That was fun but I did find something. Next was to sort through my jewellery. Also fun. I found a few things that would suit but I also found some that really needed a good clean. I only have the basic jewellery cleaner at home but that was a good start.

I found these 2 pieces that need some work.

First up was this lovely necklace. Very plain but special and very dull and dirty.

It really was a terrible colour. Now look at it after 10 minutes.

Next up was a very pretty bracelet. Not a very good photo though. Well it was supposed to be pretty. 

So some time was spent with soaking, rubbing with a cloth, scrubbing in soapy water.

Look at it now.


So I am happy that I spent a bit of time cleaning these. Now they can be worn again.
These have a bit of bling but will I wear these or something else.


Friday 17 February 2023

Mini Christmas Wall Hanging is complete

 Yes, I have finished the wall hanging and it’s stockings,

They are very cute. After cutting the coat hanger and struggling to put it in the hanging sleeve, as I made it a bit to small, it now looks curved.

I may have to change the hanger.

The felt stockings look so cute and I now have a UFO out of the cupboard, finished and ready for next Christmas.

Wednesday 15 February 2023

SAS choppy seas and Jack Sparrow has visited again. Poor Dory

 I am slowly moving along with my Storm at Sea quilt. All my pieces for the next row are laid out.

Do you see Dory swimming around. Well she got a bit confused. The seas must have been a bit too choppy and she got knocked about. 

Swimming upside down.

So I had to have Jack Sparrow visit me. He got it sorted for me.

Dory is back to normal now so I could move on to the next blocks.

Can you see the stars across the top and the beginning of the first right star at night.

What do you think of the navy border that is being created. Once the blocks/rows are sewn together my borders are already done.

The rest of the row is laid out ready for the next sewing day. It looks a bit of a mess but I’m getting there. I’m also loving these project boards. They have made it so much easier to keep my pieces in place until they are sewn.


Sunday 12 February 2023

Lovely message for my gift

 I made a special gift for a special friend. We have known each other for many years as he is a friend of my daughters from school. There is also another special meaning for our friendship too. Anyway, his wife is expecting a little girl. When we were in Melbourne last we called in to have lunch but the cafe was not open due to staff shortages 

https://www.topoftherange.net/

but he was there doing other work. We knocked on the door and we went in for coffee. Gave him his gift, which he opened and loved. 


Luke’s message was….. “ Great to see you both. Thank you so much for the presses! Xx

He got home and gave it to his wife and the message we received was super special.

“Just got home, …… started crying! She loved the presses. She said to say a big thank you ☺️! X”

Thanks Luke, we will always love and remember you.

You can’t ask for more than that…..

This was their gift…….

If anyone is in the area of Mount Macedon and wants a beautiful spot to grab a coffee, have a great view and enjoy the beautiful fresh air go to Top of the Mount Cafe. It is a very special place to me.

https://www.topoftherange.net/

But please phone first as staff is very hard to get and sometimes is closed. Covid has hit hard so support the smaller businesses. His jam is divine. It is amazing to see the view and environment and the food is delicious. 

If you know someone who needs a job please drop in to see Luke. 

Can’t wait for the baby to be born….


Thursday 9 February 2023

Another SAS block is done… and the next one prepared.

 Ok. I have been working on my next SAS block. I had made the little ship block a while back but needed to make it up to a 12” block. I have had it laid out ready to sew. Started piecing. This first part took longer than expected. I had skipped stitches, loose threads and other issues. I rewound my bobbin, changed thread, changed needle and tried again. It seemed to be better now.

So I continued on and completed the block.

But there were rocky seas with the piece next to the ships sail. It didn’t look right. So I spent half hour with jack sparrow

Then another half hour restitching to get to this. I think it looks much better. You can now see the ship and sail much better. 

How fun is Limo swimming around. Here the blocks are together. Now to get the last sailing ship ready in its 12” block.

I have laid out the last ship block ready to sew.


Monday 6 February 2023

A cute baby quilt and bunny buddy

 Ok. So I made this quilt a few months ago knowing a friend was having a baby girl.

This cute quilt measures 36”*48” and used up a few leftovers. 


But to go with it I knitted a very cute snuggly bunny. I used the same soft rainbow colour chenille wool. They match beautifully. This one has a bit more pink in it and it is perfect for a little girl.


I have also made a couple more in a different colour. These will be ok if the sex is unknown.

Here are the three of them together.


Friday 3 February 2023

I’m ready for the SAS SAL weekend with my quilt group.

 I am using my 20” project board for my next Storm at Sea block.

I had previously made the small sailing ship block. This needed to be built up to the 12” that fits into my quilt. So I spent about 1 1/2 hours laying out all the pieces. Then I discovered that I had missed cutting out one of the colours and shapes required. My medium blues in the shape of B & B reverse. I need 11 of each for the quilt. I hadn’t even counted these pieces. 

So I sat and cut around another colour so I had them ready.

Laid out my block. All ready to sew.


Do you like Nemo showing up. I have added a few fun, fussy cut pieces. Hope they all work out as a whole quilt. It is very busy but it should be ok.


Wednesday 1 February 2023

Pottering around with project boards

 Our group had a workshop to make these project boards months ago. I bought the corrugated board and have had it sitting there as I didn’t make it to the workshop.

Well I have made not 1 but 3 project boards. Here are the steps of how I did them.

I went to office works and bout a sheet of board for about $10.

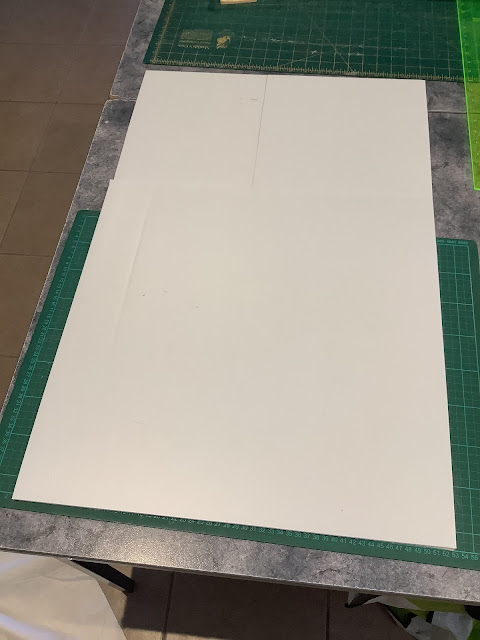
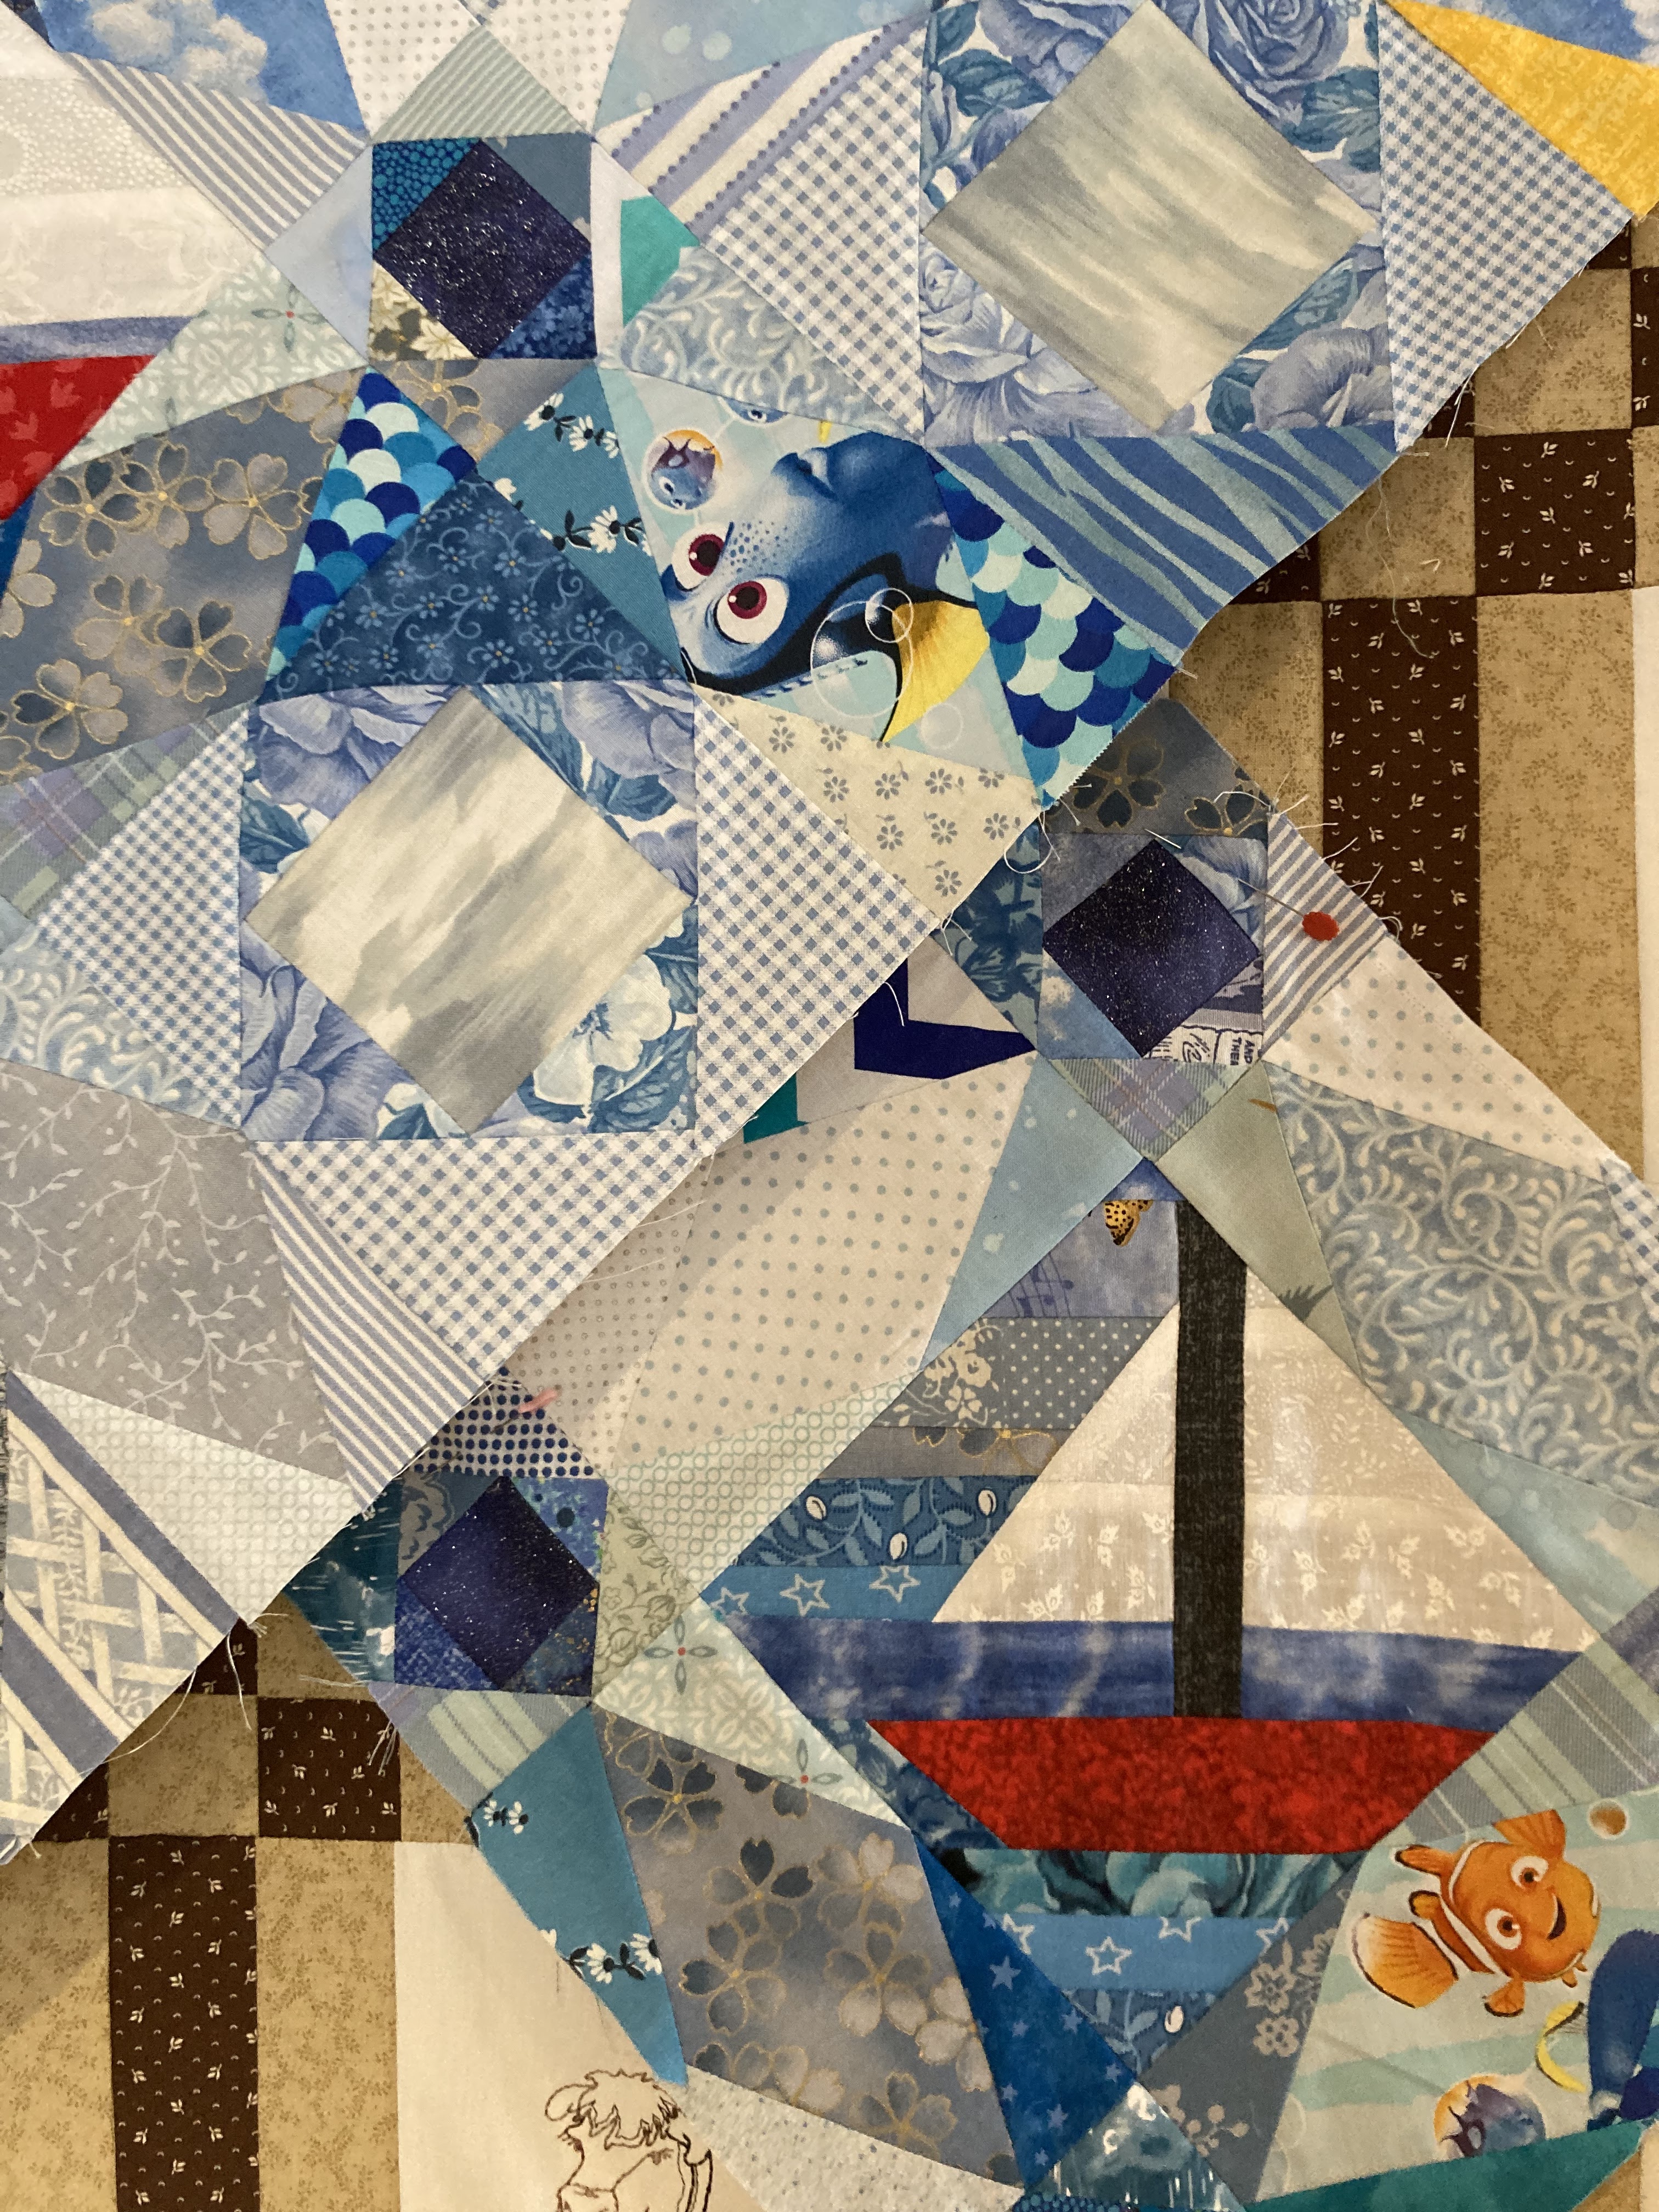
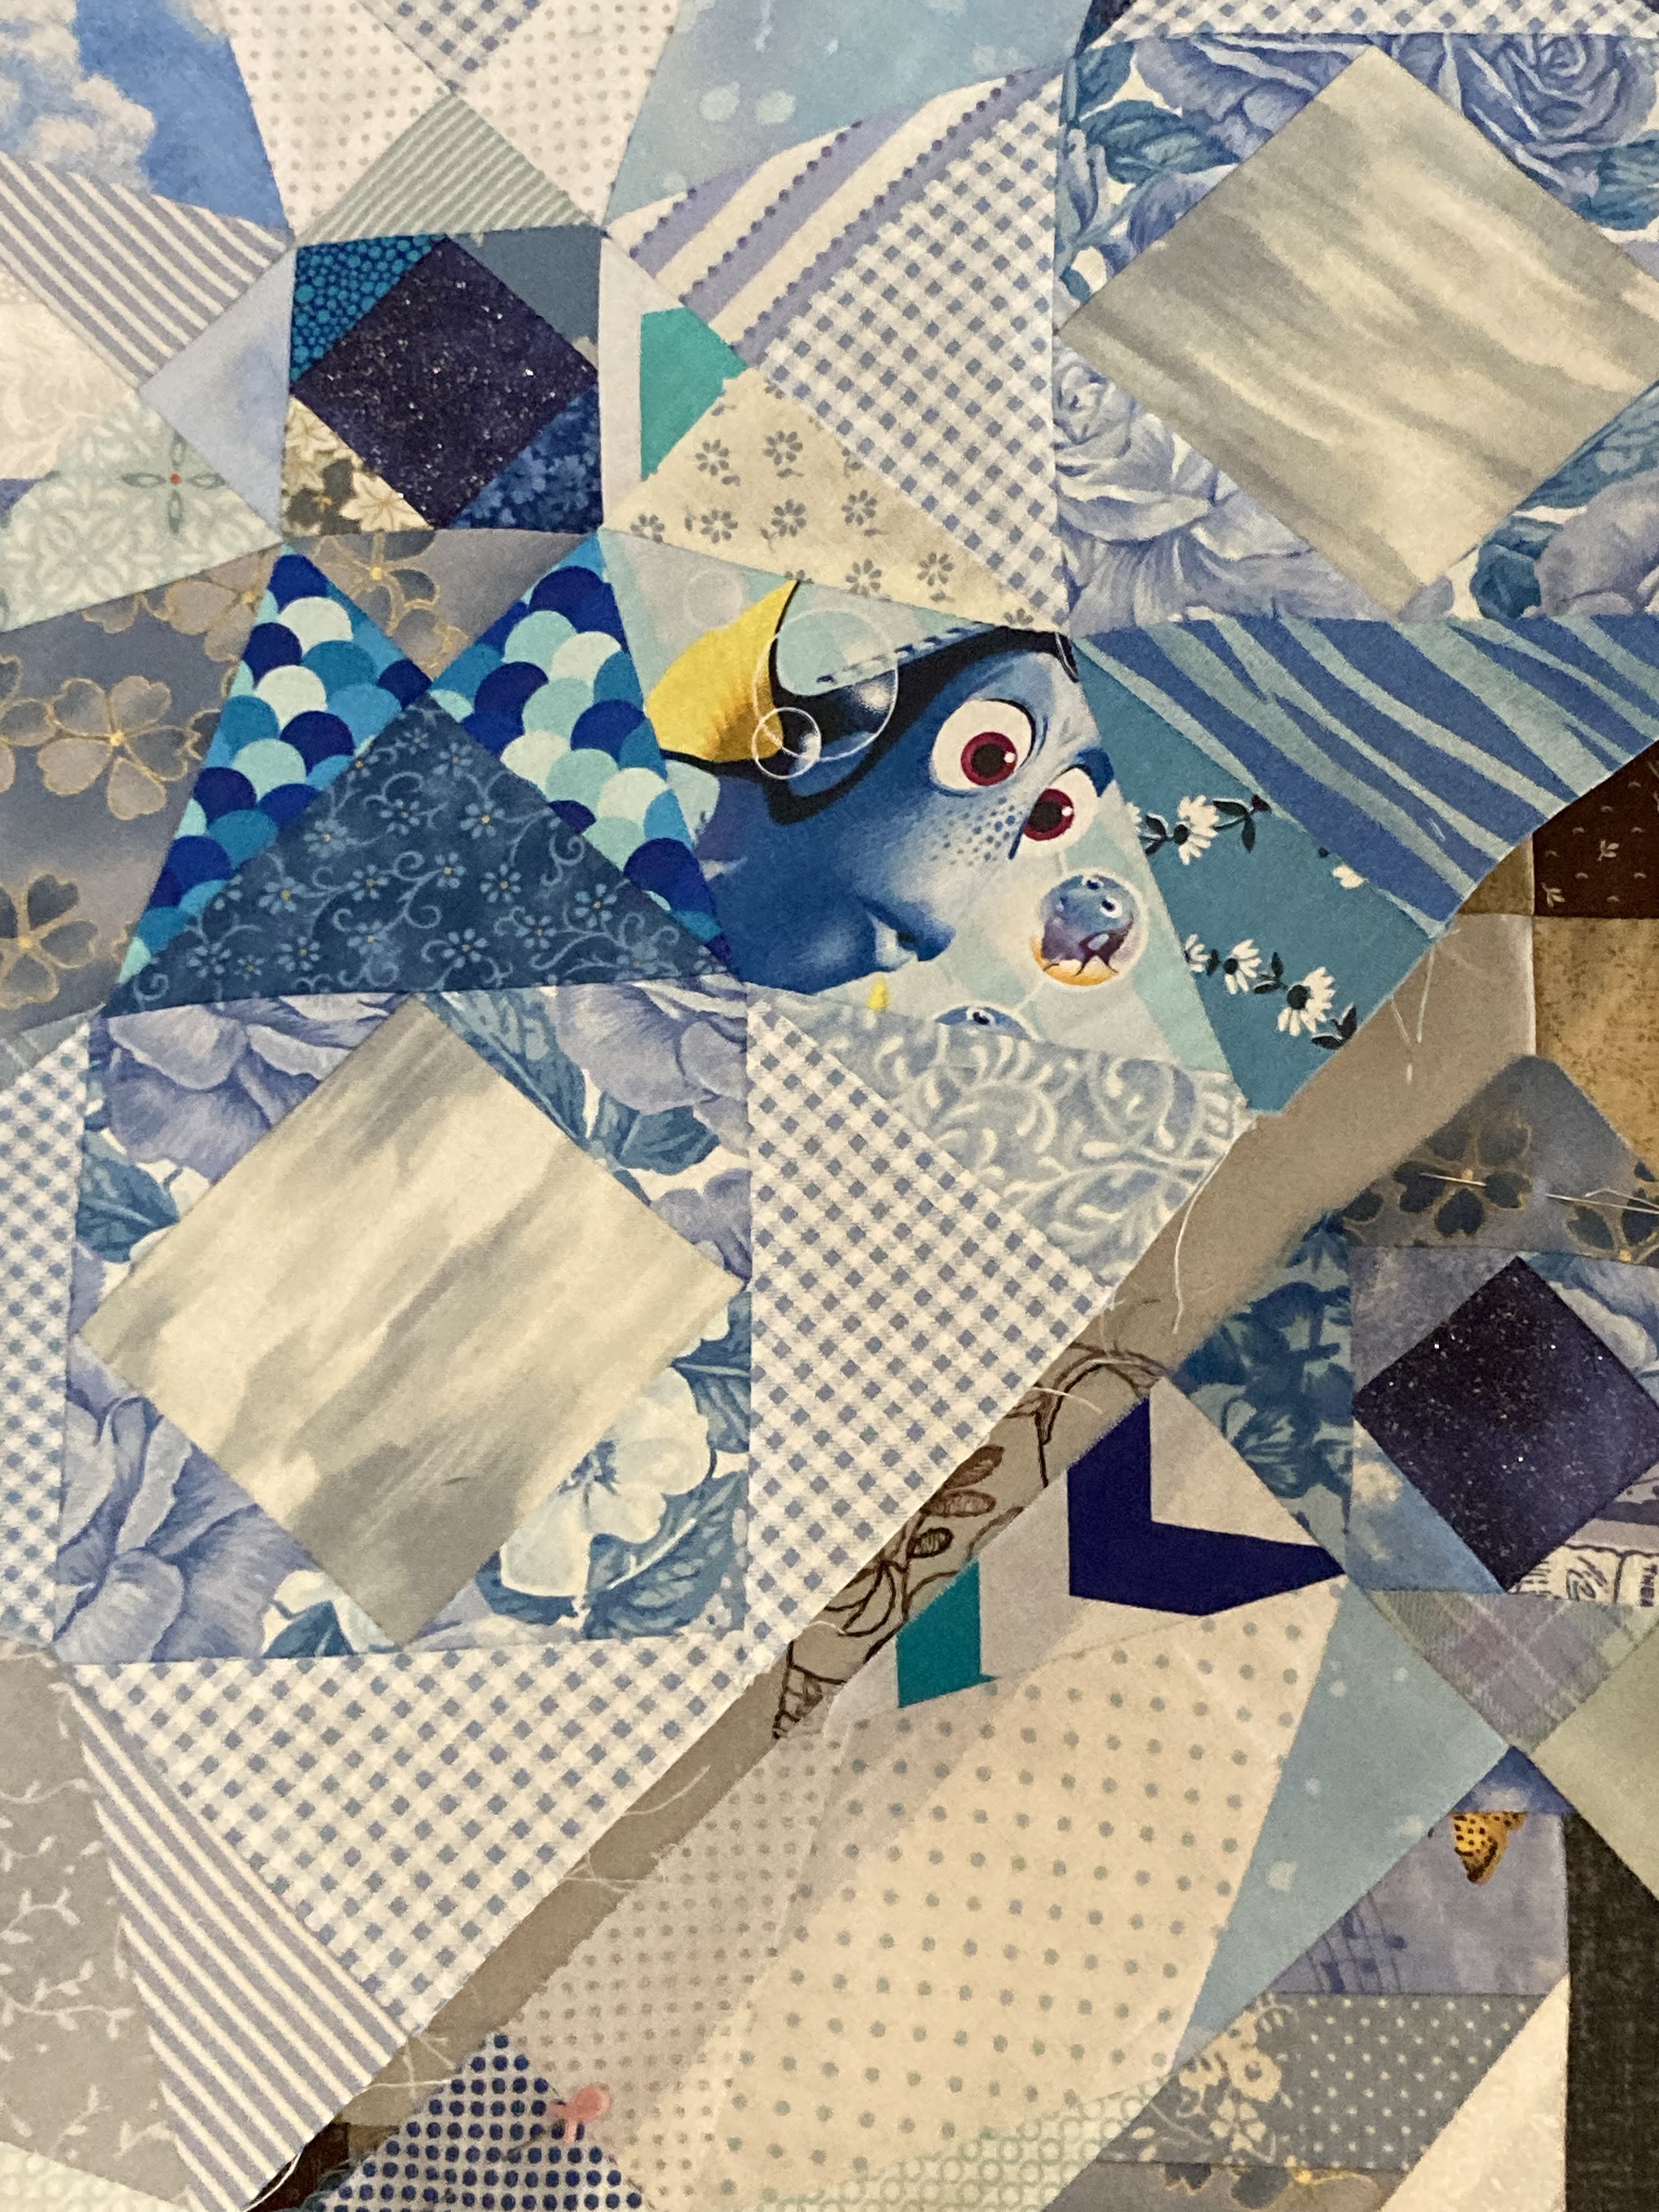
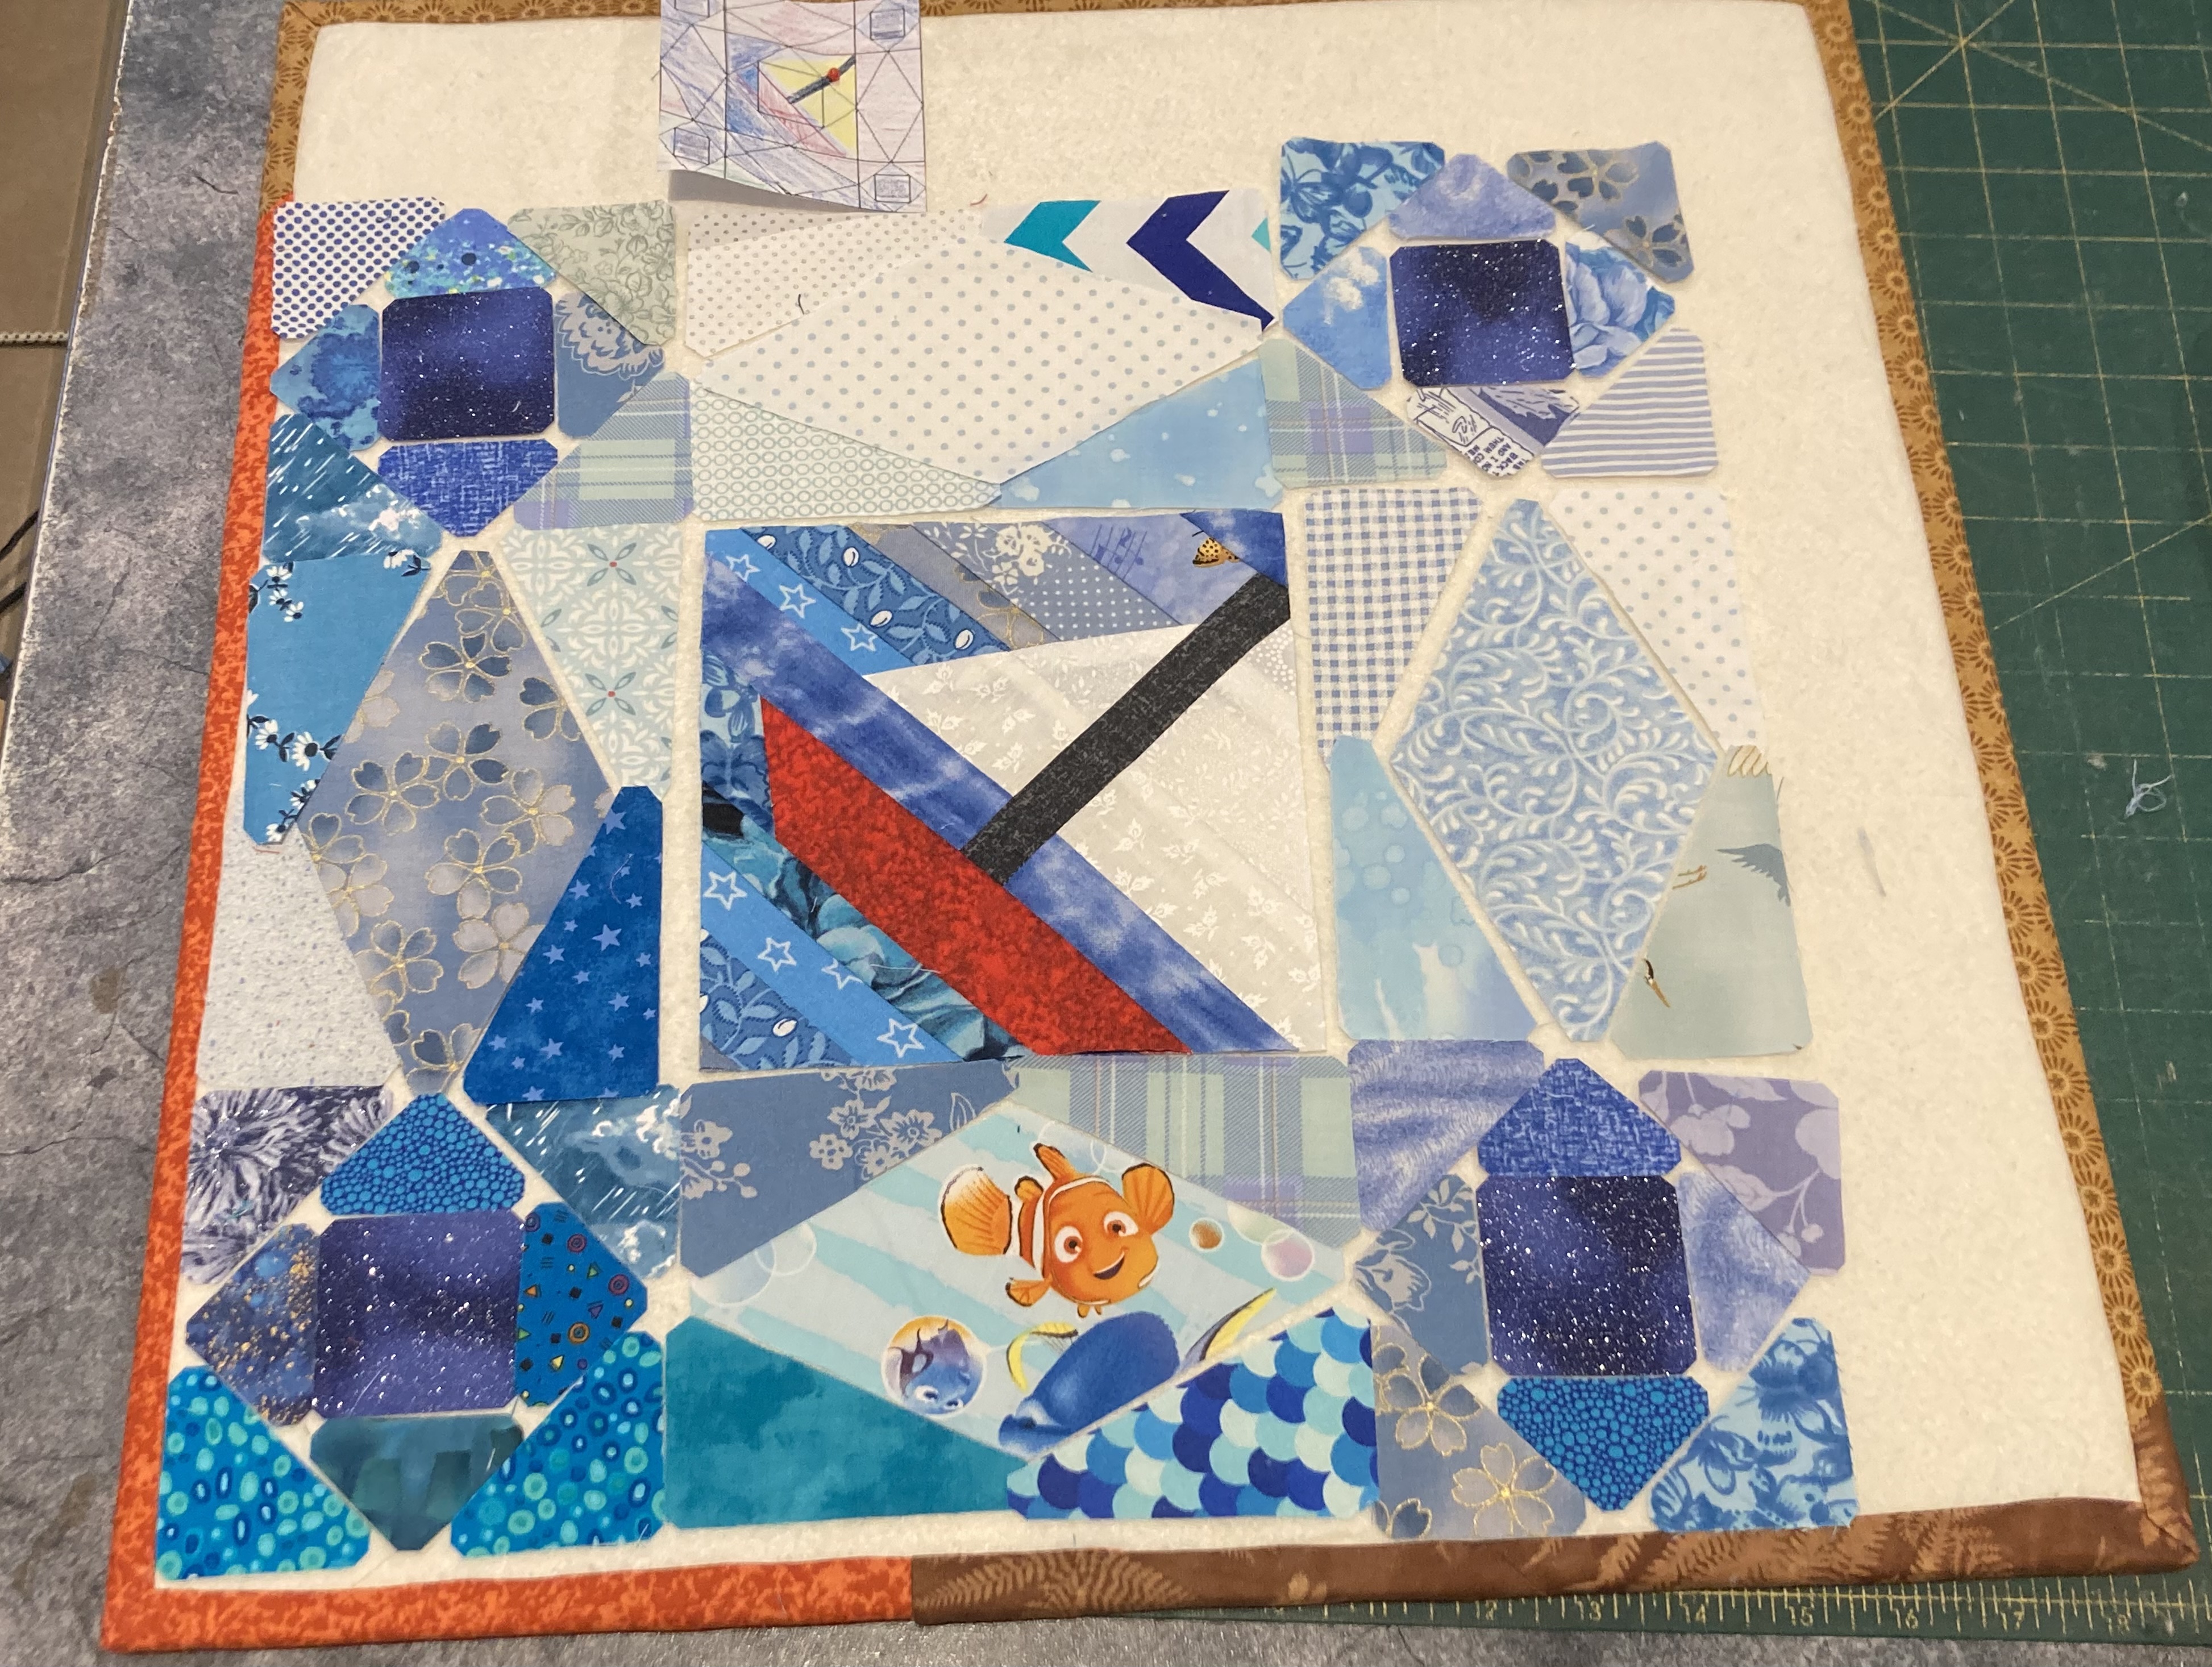
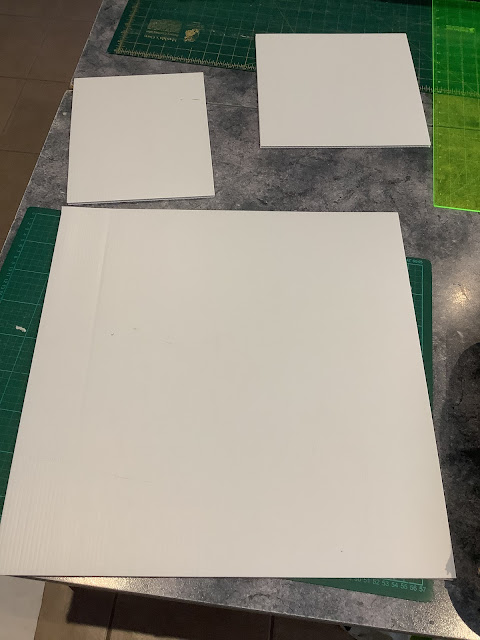
Once I decided on the sizes I wanted I just cut it up with my rotary. I knew I needed one for my Storm at Sea blocks. When I had all the pieces laid out on my table, when making my ship blocks, I turned on the ceiling fan and pieces went everywhere. This is how I decided on the first size. Now to make a 12” block with lots of pieces you need a larger board. This cut was made first. I just measured the width of the board and cut the first square. 20”. Then with the left overs I got an 11” square and a 9” * 11” piece.

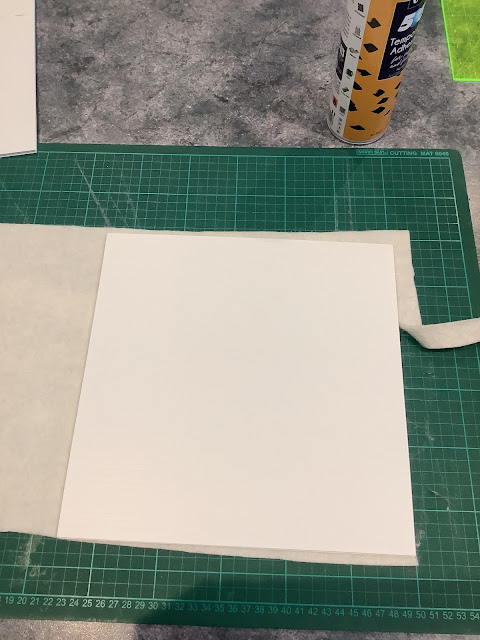
Next I got out my scrap wadding and a light spray of glue to stick them together.

Trim them to size.

Went and got out my scrap bindings left over from other projects.


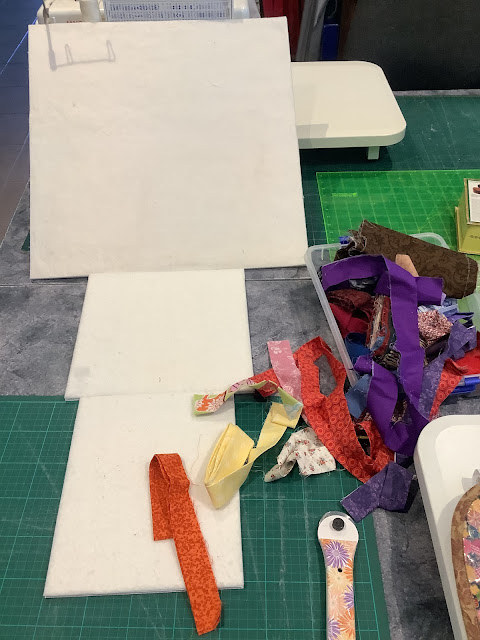
Now, measure and find a length suitable or join some together to get the required length.

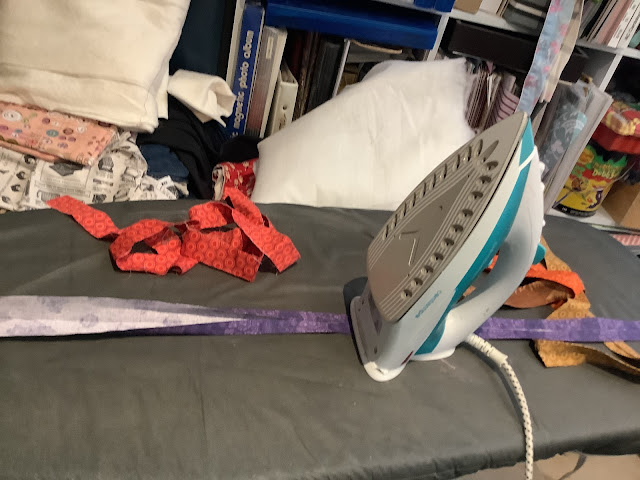
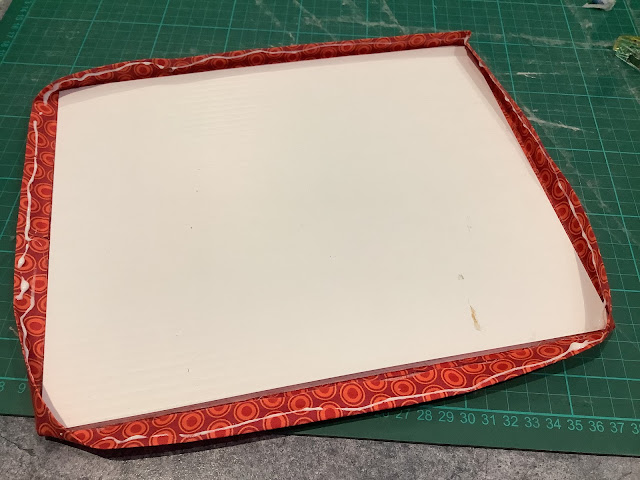
Off to the ironing board and iron the edges into the centre like a bought bias binding.

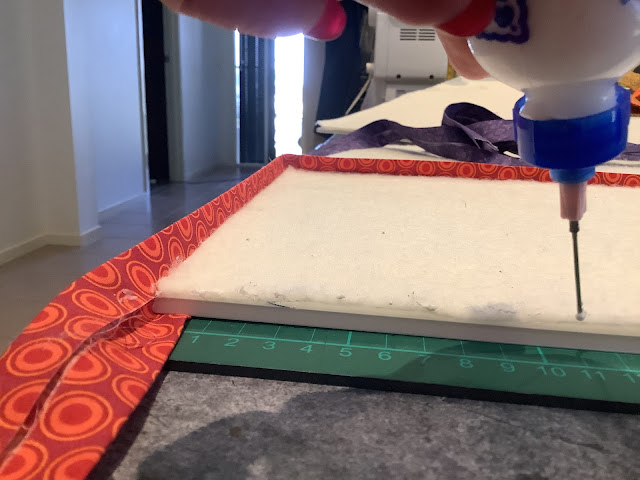
I found it easier to put around the edges little dobs of basting glue. It dries fast, you don’t use much and if you make a mistake you can take it off. Dob the glue and press the binding around the sides of the boards.

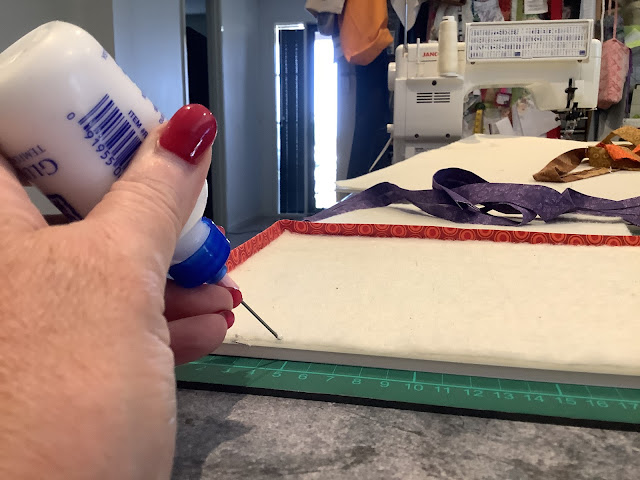
You don’t need much of this glue.it is usually used for appliqué.

Once all around the edges I was told to use a hot glue gun to glue the rest down. I have never had any luck when using hot glue guns. I find the glue is nearly dry before I even get the fabric onto it. 

Then everything falls apart. So scrap that idea.

I use white craft glue, school glue or pva. It works for me. Put it all the way around the edges and fold fabric over to stick to the board. I found it was best to put the glue close to the edge of the binding fabric. It holds better.

I used binding clips, clover clips, whatever you know them as, to hold it in place. Repeat on the other side.

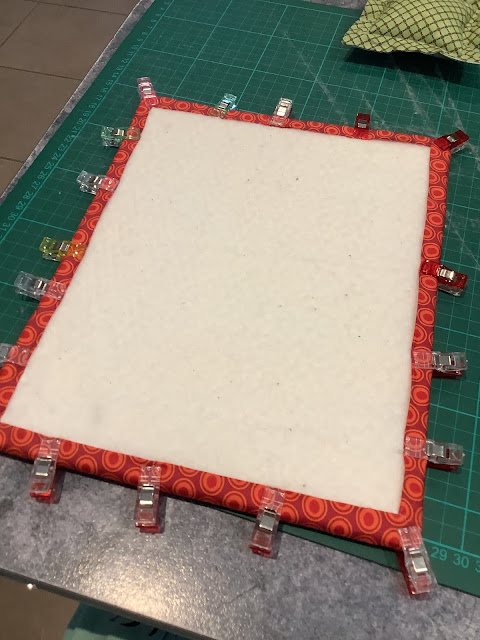
Once you have got all the way around remove all the clips, put a cutting ruler or something flat and bigger than the boards top of it. Put heavy boxes or weights on top until completed dry.

I now have 3 great versatile boards to use.