Showing posts with label Project boards. Show all posts

Thursday, 12 October 2023

Back to my hand piecing days.

 When I first started patchwork I made so many projects and quilts by hand piecing. This meant tracing around a template with pencil and slowing sewing them together to make blocks. Since we have just ordered a new caravan we hope to use frequently I would like to take my Hand sewing along so I always have something to work on that won’t be finished in a day.

About 10-12 years ago I went to the Melbourne quilt show and loved this pattern. 365 Star a Day.

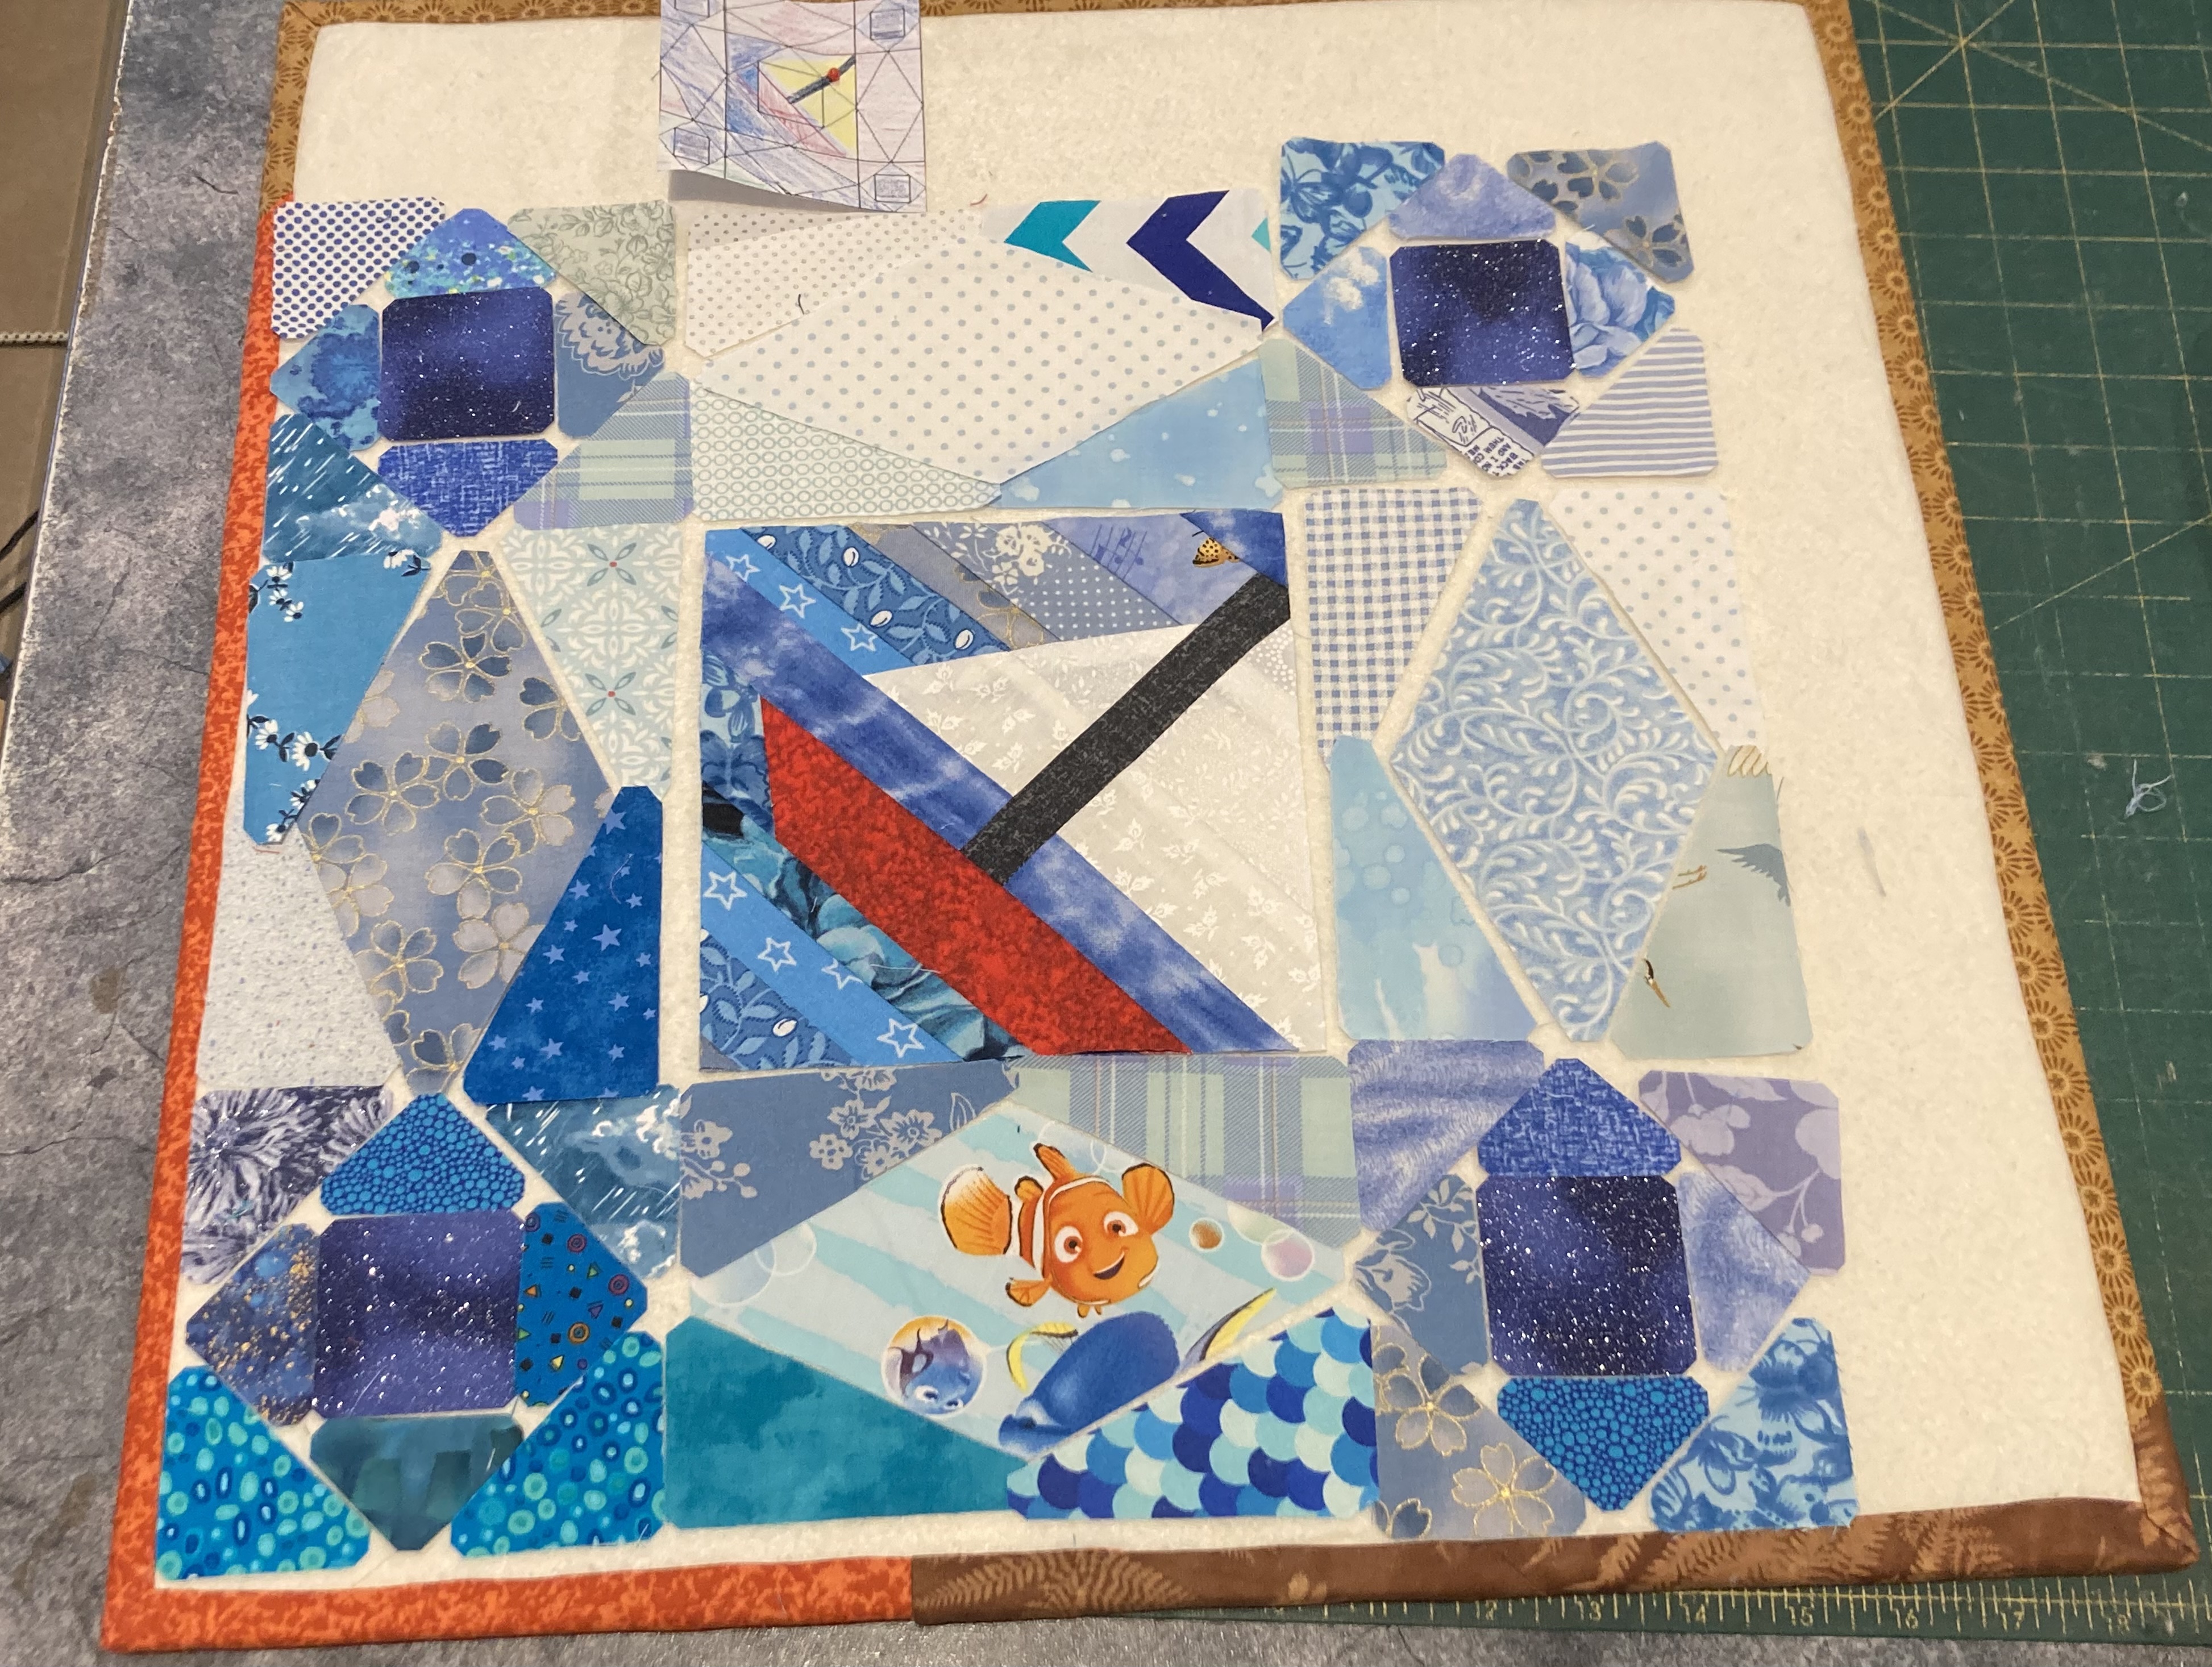
Make 1 a day for a year. Well that didn’t happen. Life changed and I didn’t even get 1 block made. These blocks finish at 3 inches. I would prefer to make these than EPP.

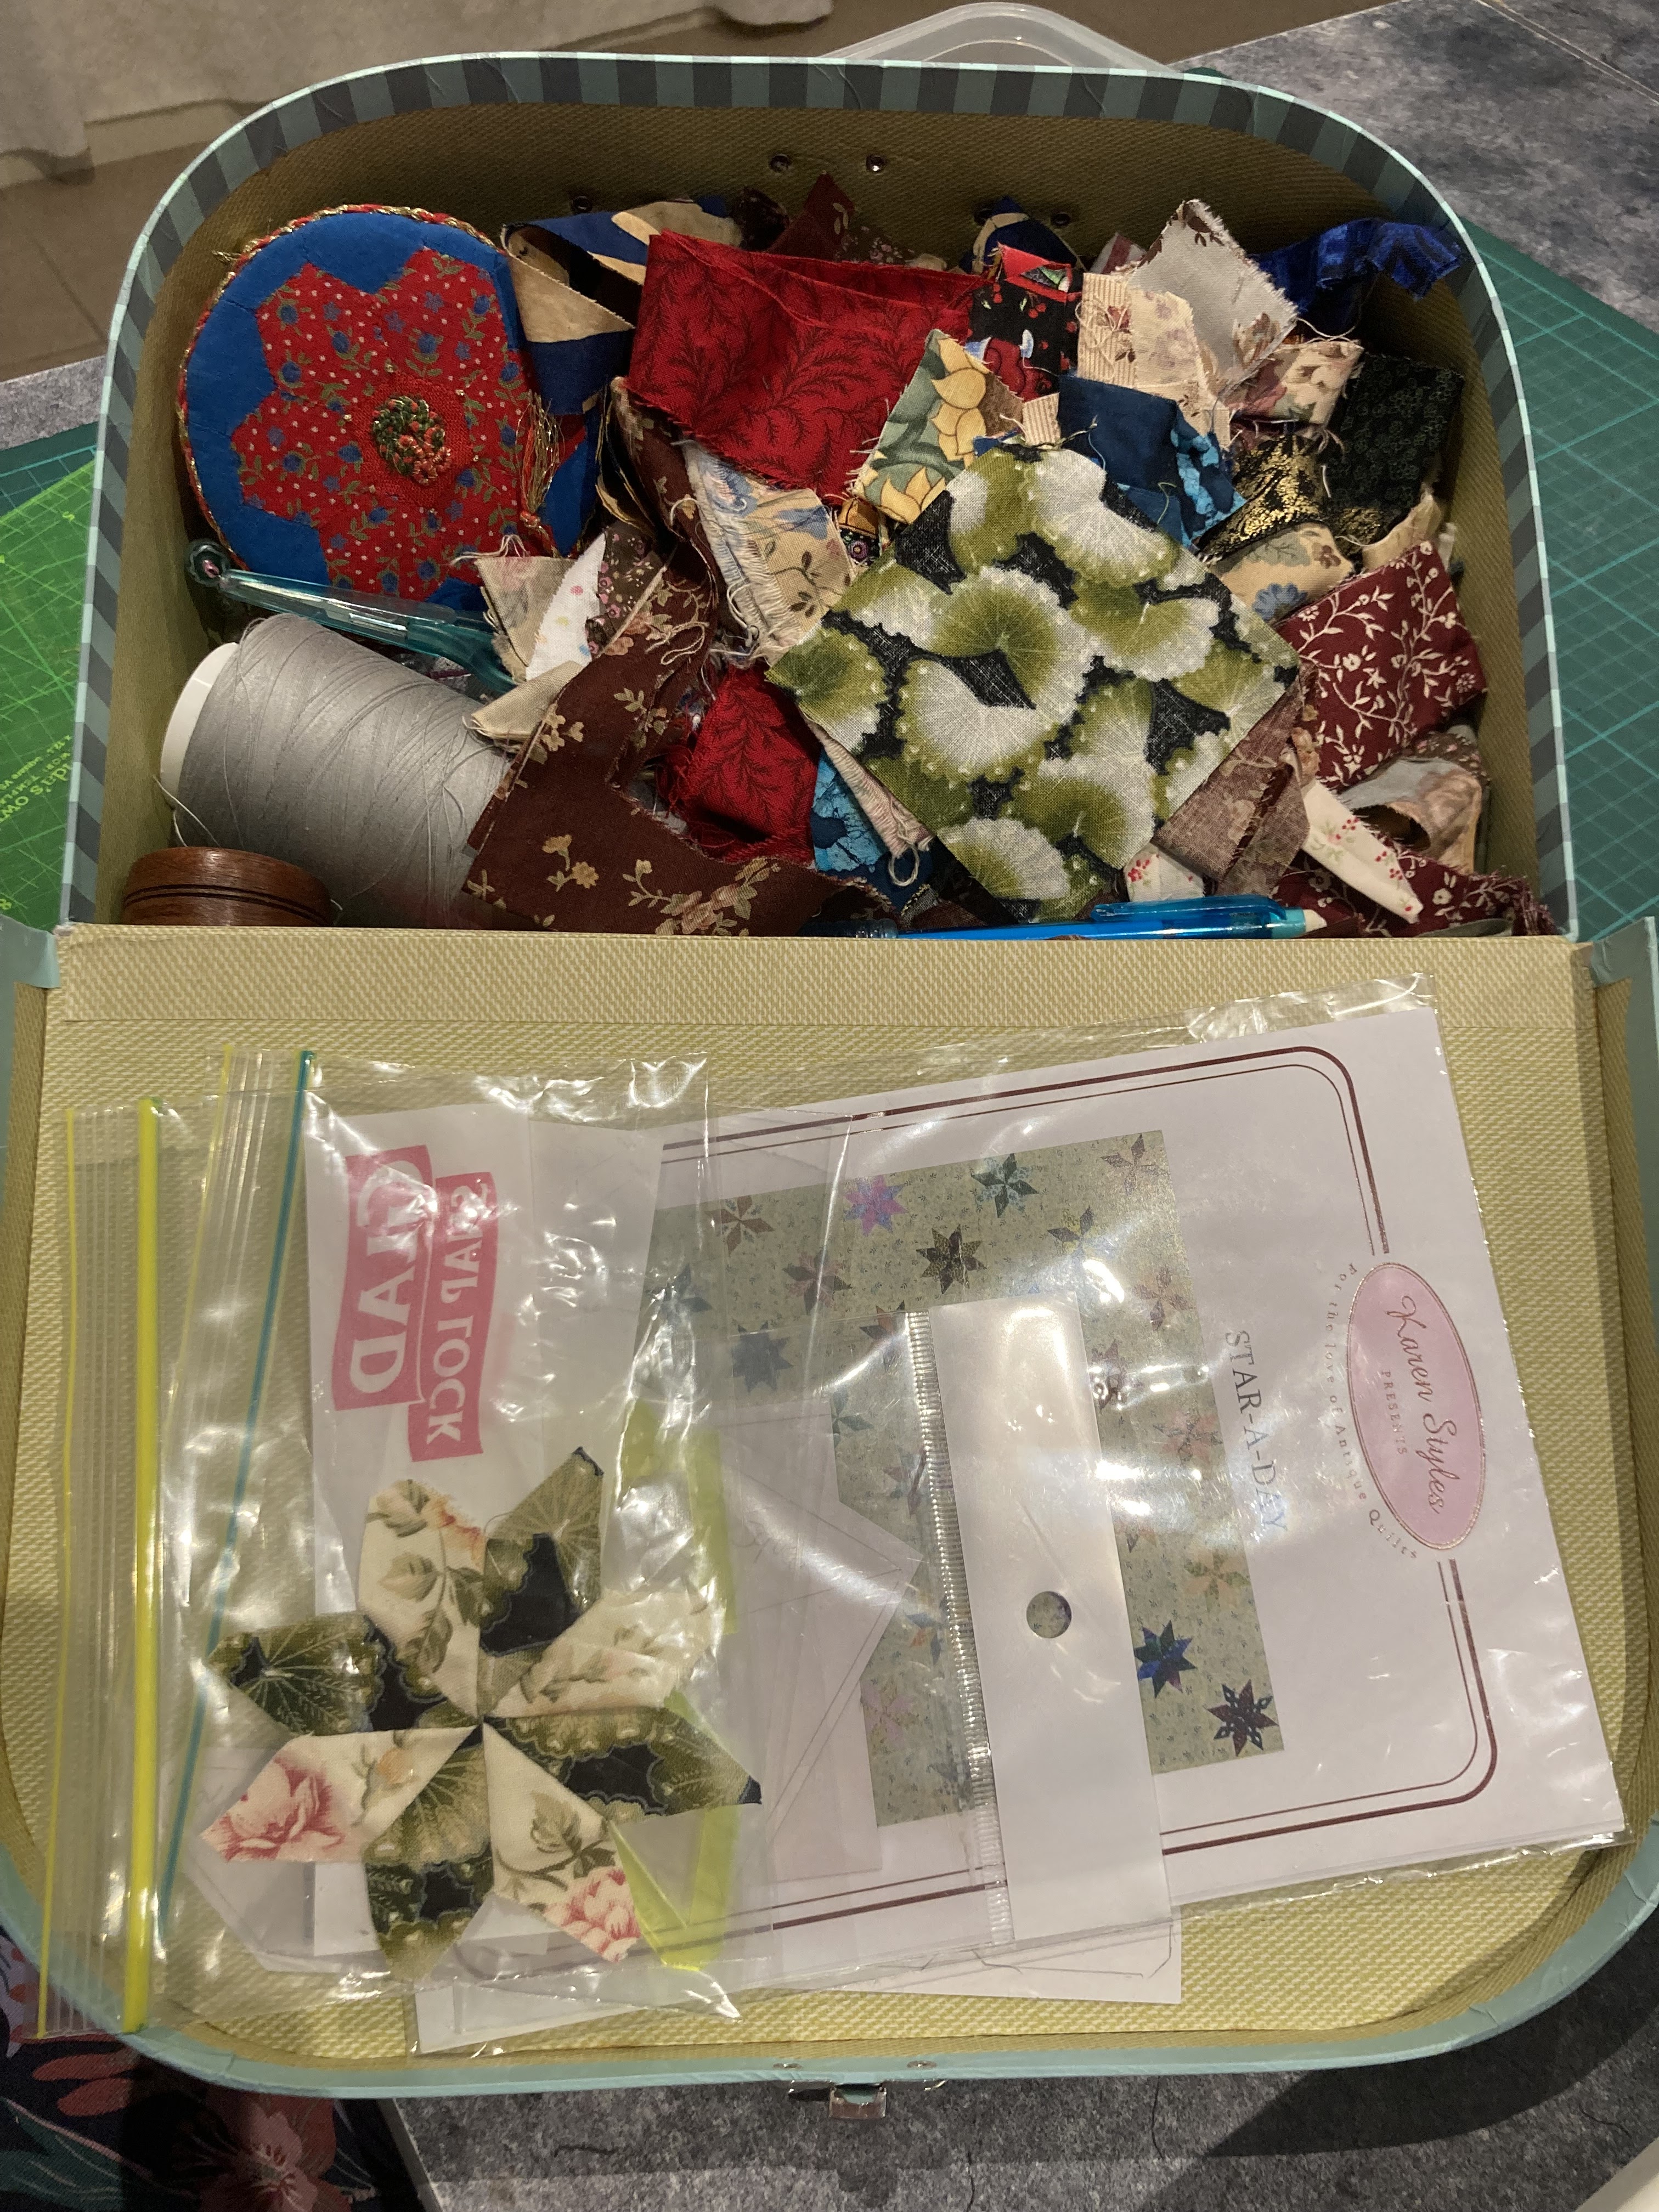
These are the tiny templates used to make the blocks.

I had thrown in scraps of fabrics into this case years ago too. It also had a kit with scissors, needles, thread, sandpaper and pencil. All ready to go.

It needed updating and to be more organised.
I sat and measured out what size scrap I needed to collect to make it easier and hopefully neater for me. 
That will be next.  Sorting these scraps out.

Look at the gorgeous case I have for it.


Now I need to make the preparation folder. Sandpaper board, cutting mat and ironing board folder.
On to planning it.


Friday, 3 February 2023

I’m ready for the SAS SAL weekend with my quilt group.

 I am using my 20” project board for my next Storm at Sea block.

I had previously made the small sailing ship block. This needed to be built up to the 12” that fits into my quilt. So I spent about 1 1/2 hours laying out all the pieces. Then I discovered that I had missed cutting out one of the colours and shapes required. My medium blues in the shape of B & B reverse. I need 11 of each for the quilt. I hadn’t even counted these pieces. 

So I sat and cut around another colour so I had them ready.

Laid out my block. All ready to sew.


Do you like Nemo showing up. I have added a few fun, fussy cut pieces. Hope they all work out as a whole quilt. It is very busy but it should be ok.


Wednesday, 1 February 2023

Pottering around with project boards

 Our group had a workshop to make these project boards months ago. I bought the corrugated board and have had it sitting there as I didn’t make it to the workshop.

Well I have made not 1 but 3 project boards. Here are the steps of how I did them.

I went to office works and bout a sheet of board for about $10.

Once I decided on the sizes I wanted I just cut it up with my rotary. I knew I needed one for my Storm at Sea blocks. When I had all the pieces laid out on my table, when making my ship blocks, I turned on the ceiling fan and pieces went everywhere. This is how I decided on the first size. Now to make a 12” block with lots of pieces you need a larger board. This cut was made first. I just measured the width of the board and cut the first square. 20”. Then with the left overs I got an 11” square and a 9” * 11” piece.

Next I got out my scrap wadding and a light spray of glue to stick them together.

Trim them to size.

Went and got out my scrap bindings left over from other projects.


Now, measure and find a length suitable or join some together to get the required length.

Off to the ironing board and iron the edges into the centre like a bought bias binding.

I found it easier to put around the edges little dobs of basting glue. It dries fast, you don’t use much and if you make a mistake you can take it off. Dob the glue and press the binding around the sides of the boards.

You don’t need much of this glue.it is usually used for appliqué.

Once all around the edges I was told to use a hot glue gun to glue the rest down. I have never had any luck when using hot glue guns. I find the glue is nearly dry before I even get the fabric onto it. 

Then everything falls apart. So scrap that idea.

I use white craft glue, school glue or pva. It works for me. Put it all the way around the edges and fold fabric over to stick to the board. I found it was best to put the glue close to the edge of the binding fabric. It holds better.

I used binding clips, clover clips, whatever you know them as, to hold it in place. Repeat on the other side.

Once you have got all the way around remove all the clips, put a cutting ruler or something flat and bigger than the boards top of it. Put heavy boxes or weights on top until completed dry.

I now have 3 great versatile boards to use.