I made a Kawandi cloth quite a few months ago. This took a full charm pack because I cut the pieces up small.
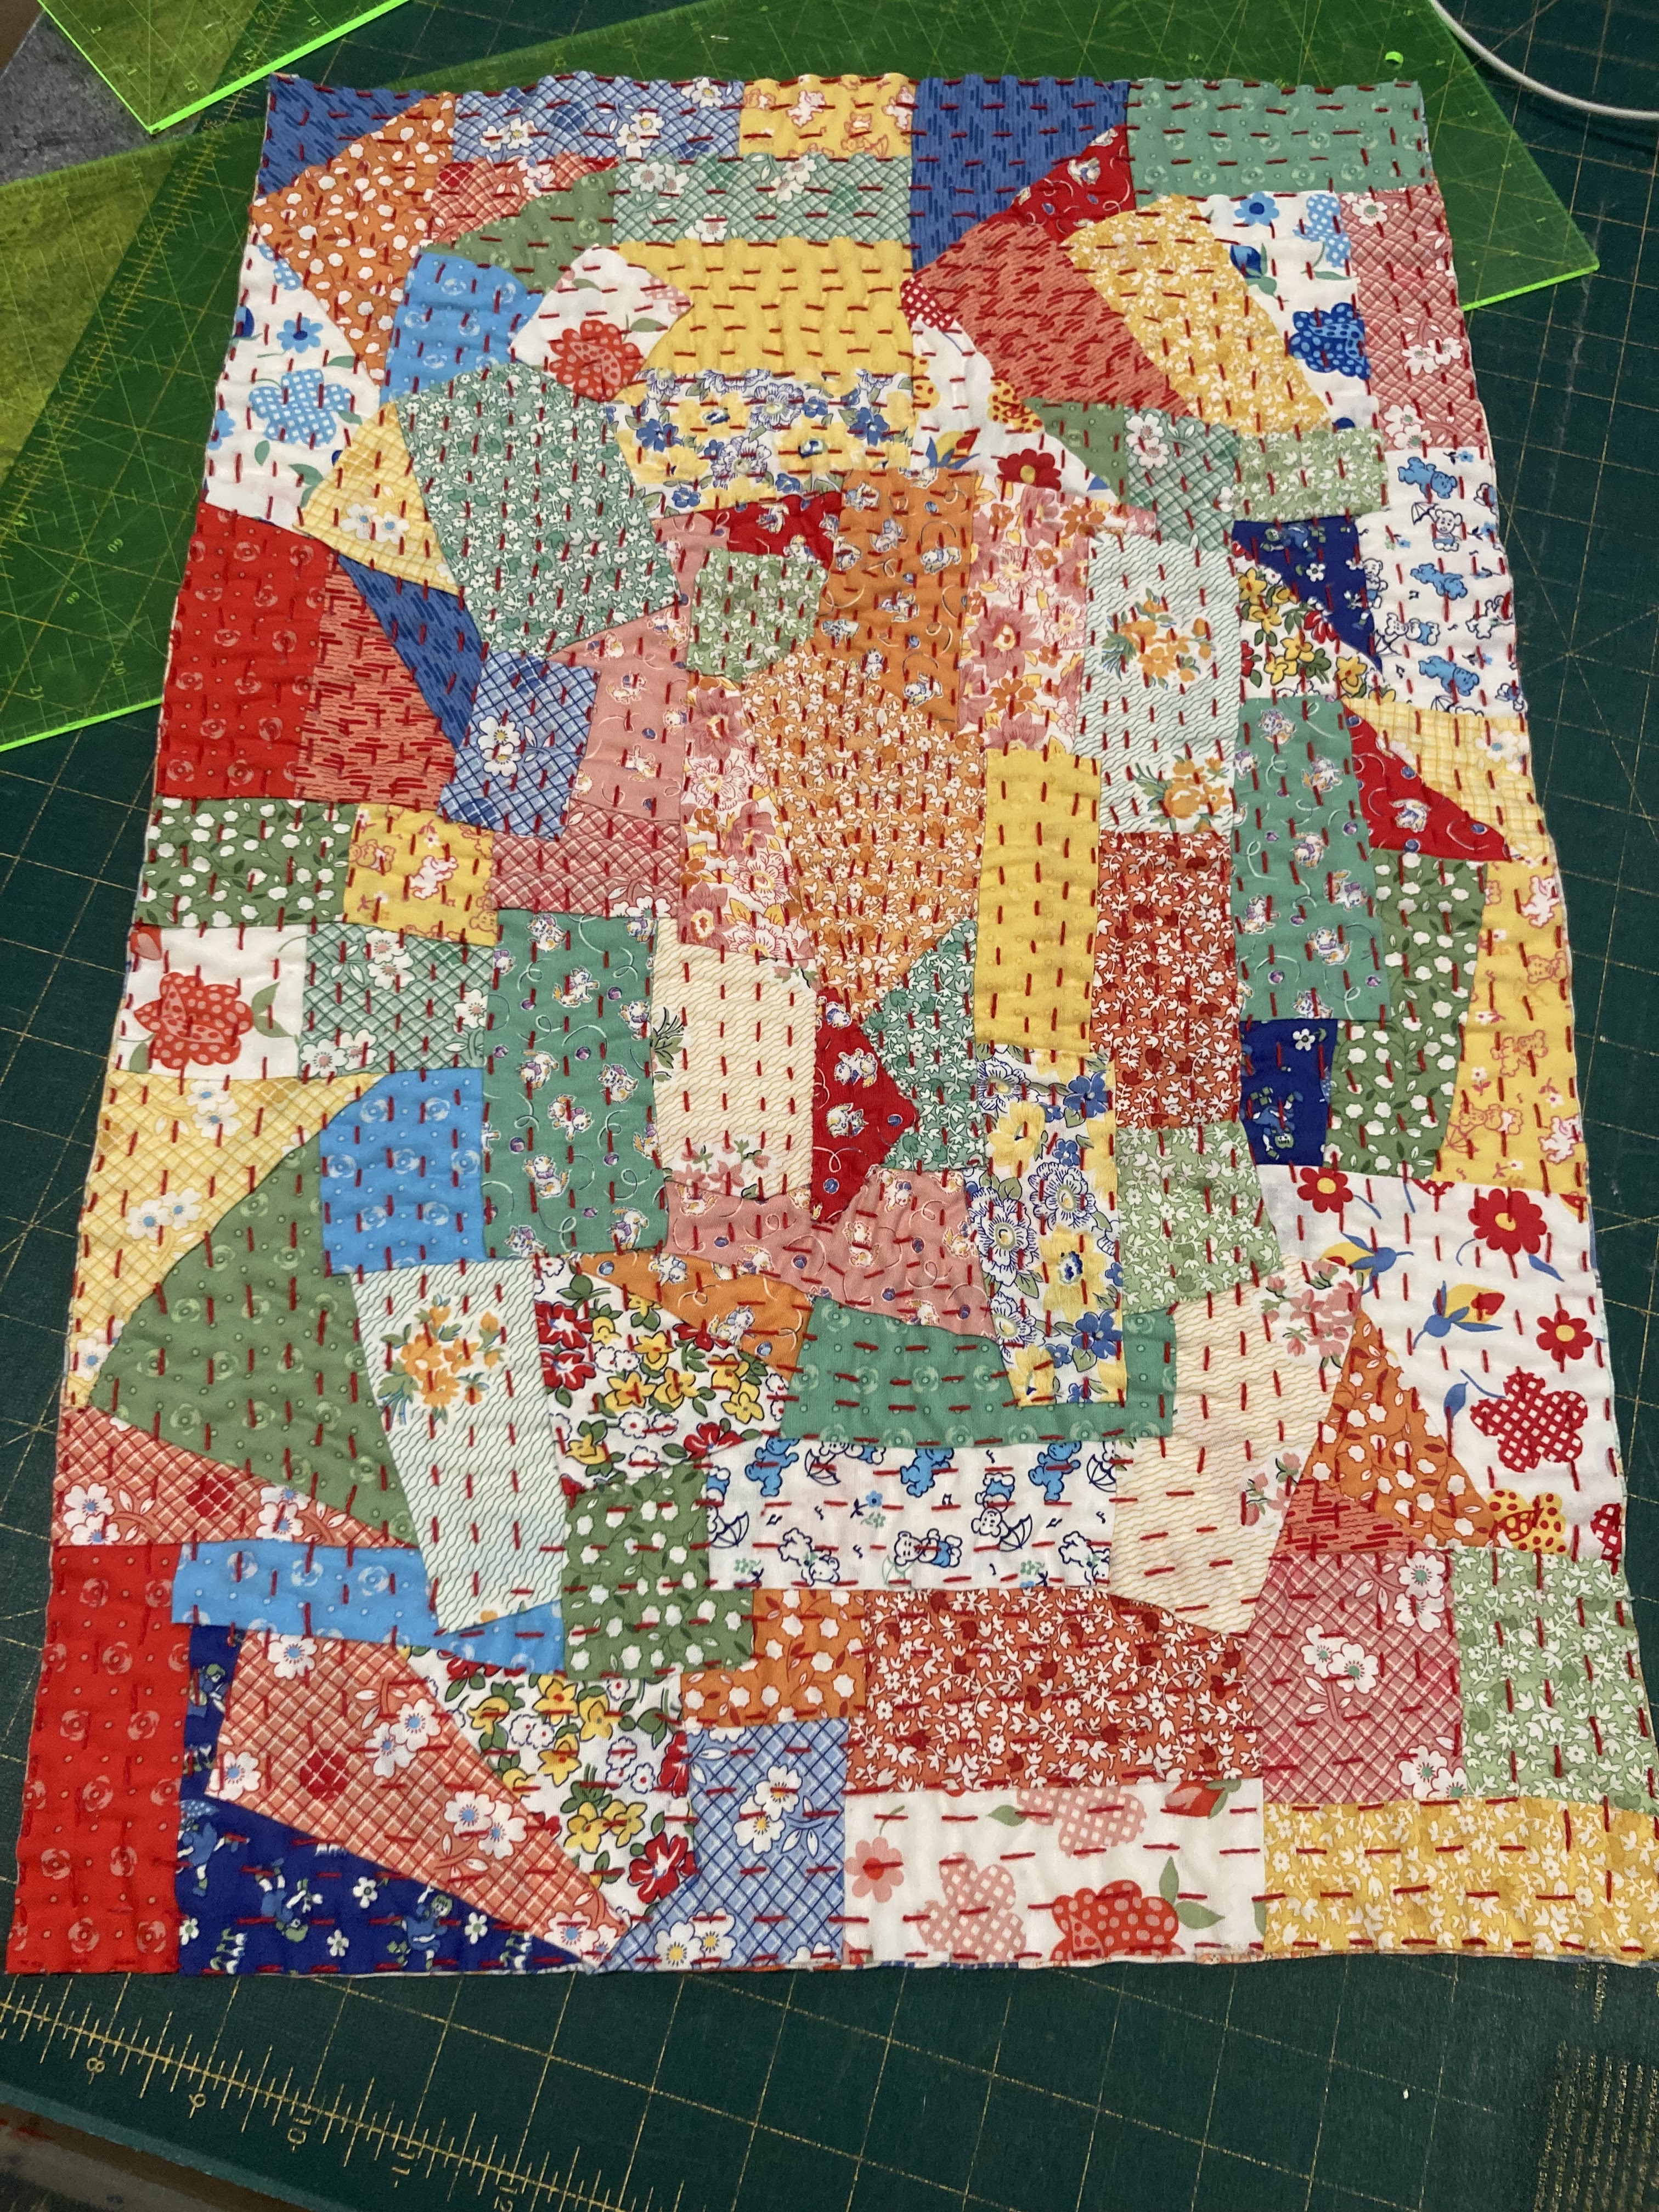
with the intention of making a bag but life changed, choices changed and it was packed away. Clean up time happened and out it came.
I decided to make it into a project bag with a clear front so I can see what is in it. So I gathered a long zip, a piece of vinyl and some red binding fabric.

I machine sewed a binding on all the way around the vinyl using a longer than normal stitch

Then made 2 * 4” lengths for the loops.

Because the Kawandi is a finished piece I sewed the zip straight to an end as well as the vinyl.

I just topstitched the fabric and vinyl to the top of the zip

Next, I sewed the loops onto each side over the ends of the zip.

Time to cut the zips off level

Sew the loops to the other side and reinforce the zip

Attaching the bottom edge of the vinyl to the Kawandi is a bit tricky. Open the zip, layer the kawandi on top of the binding on the vinyl and top stitch.

The pouch is now joined into a tube.

Lay flat and trim even on both side edges.

Topstitch close to the edges.

And your pouch is ready to use.

This has now got my Kawandi tablecloth project in it.
I have also been watching more YouTube tutorials and found Elizabeth Ann Can Stitch has some great ones.
11 comments:
great use for your stitchery....
Gorgeous bright bag for your EPPing….
The perfect use for it.
That's an interesting variation of a zippered pouch. Good to use the completed piece of kawandi.
That turned out fabulous Jo. I could not see what you were creating to begin with but it looks wonderful & will be so useful. xx
Great use of your kawandi and a lovely finished pouch. xx
Looks good. Must say that I've never sewen with vynel.
That is a great way to use the finished piece. The see through pouches are so useful.
Love this pouch! I think when my Sashiko number comes up I will do something like a pouch with it.
Looks womderful Jo, great use for your kwandi piece,
This turned out great and I'm looking forward to making my version of this Jo - thank you for the inspiration!!
Post a Comment