I am going to be doing a tutorial night at some point this year at my quilt group. We only have a 2 hour session so the project has to be quick, useful, achievable (without much to do at home) and fun.
So I searched Pinterest and YouTube to look for suitable projects. I came across a cute pouch. I then studied a few YouTube’s and mix and matched to come up with mine. 2 at a time pouches.
You can do them so they are exactly the same or completely the reverse of each other using the same piece of fabric.

I’ll try to explain how I made them step by step.
*****NOT SUITABLE FOR DIRECTIONAL FABRICS*****
You will need 2 pieces of fabric and 1 piece of wadding 21” * 25”
1. Quilt your 3 layers together
I marked mine with masking tape and quilted them one way

Moved the masking tape and crosshatched the other direction.

and trim to 24” high * 20” wide.
Then mark down 6” from the top left. Also from the bottom right.

Cut from point to point.

You will need a 1 * 25” continuous zip with 2 zipper pulls OR 2 * 25” dress zips.
Binding/contrast fabric…. 2 lengths 2” * 24” ironed in half lengthwise
……. 2 lengths 2.5” * 24” ironed in half lengthwise
2 lengths 3” * 24” for the wrist strap (ironed like bias binding)
Optional … 2 rings or d rings for the wrist strap.

Now, lay the wrong side of the zip on to the wrong side of the angled cut.

Sew the 2” folded strip onto the right side of the zip. Matching the raw edges.
(Oops, my zip is a bit wavy.. don’t stretch it)

Peel off one side of the zip and put aside for the second pouch.
Fold seam allowance under and top stitch the zip to the pouch fabric.

Then iron over the binding to cover the raw seam and top stitch down on the right side of the pouch.

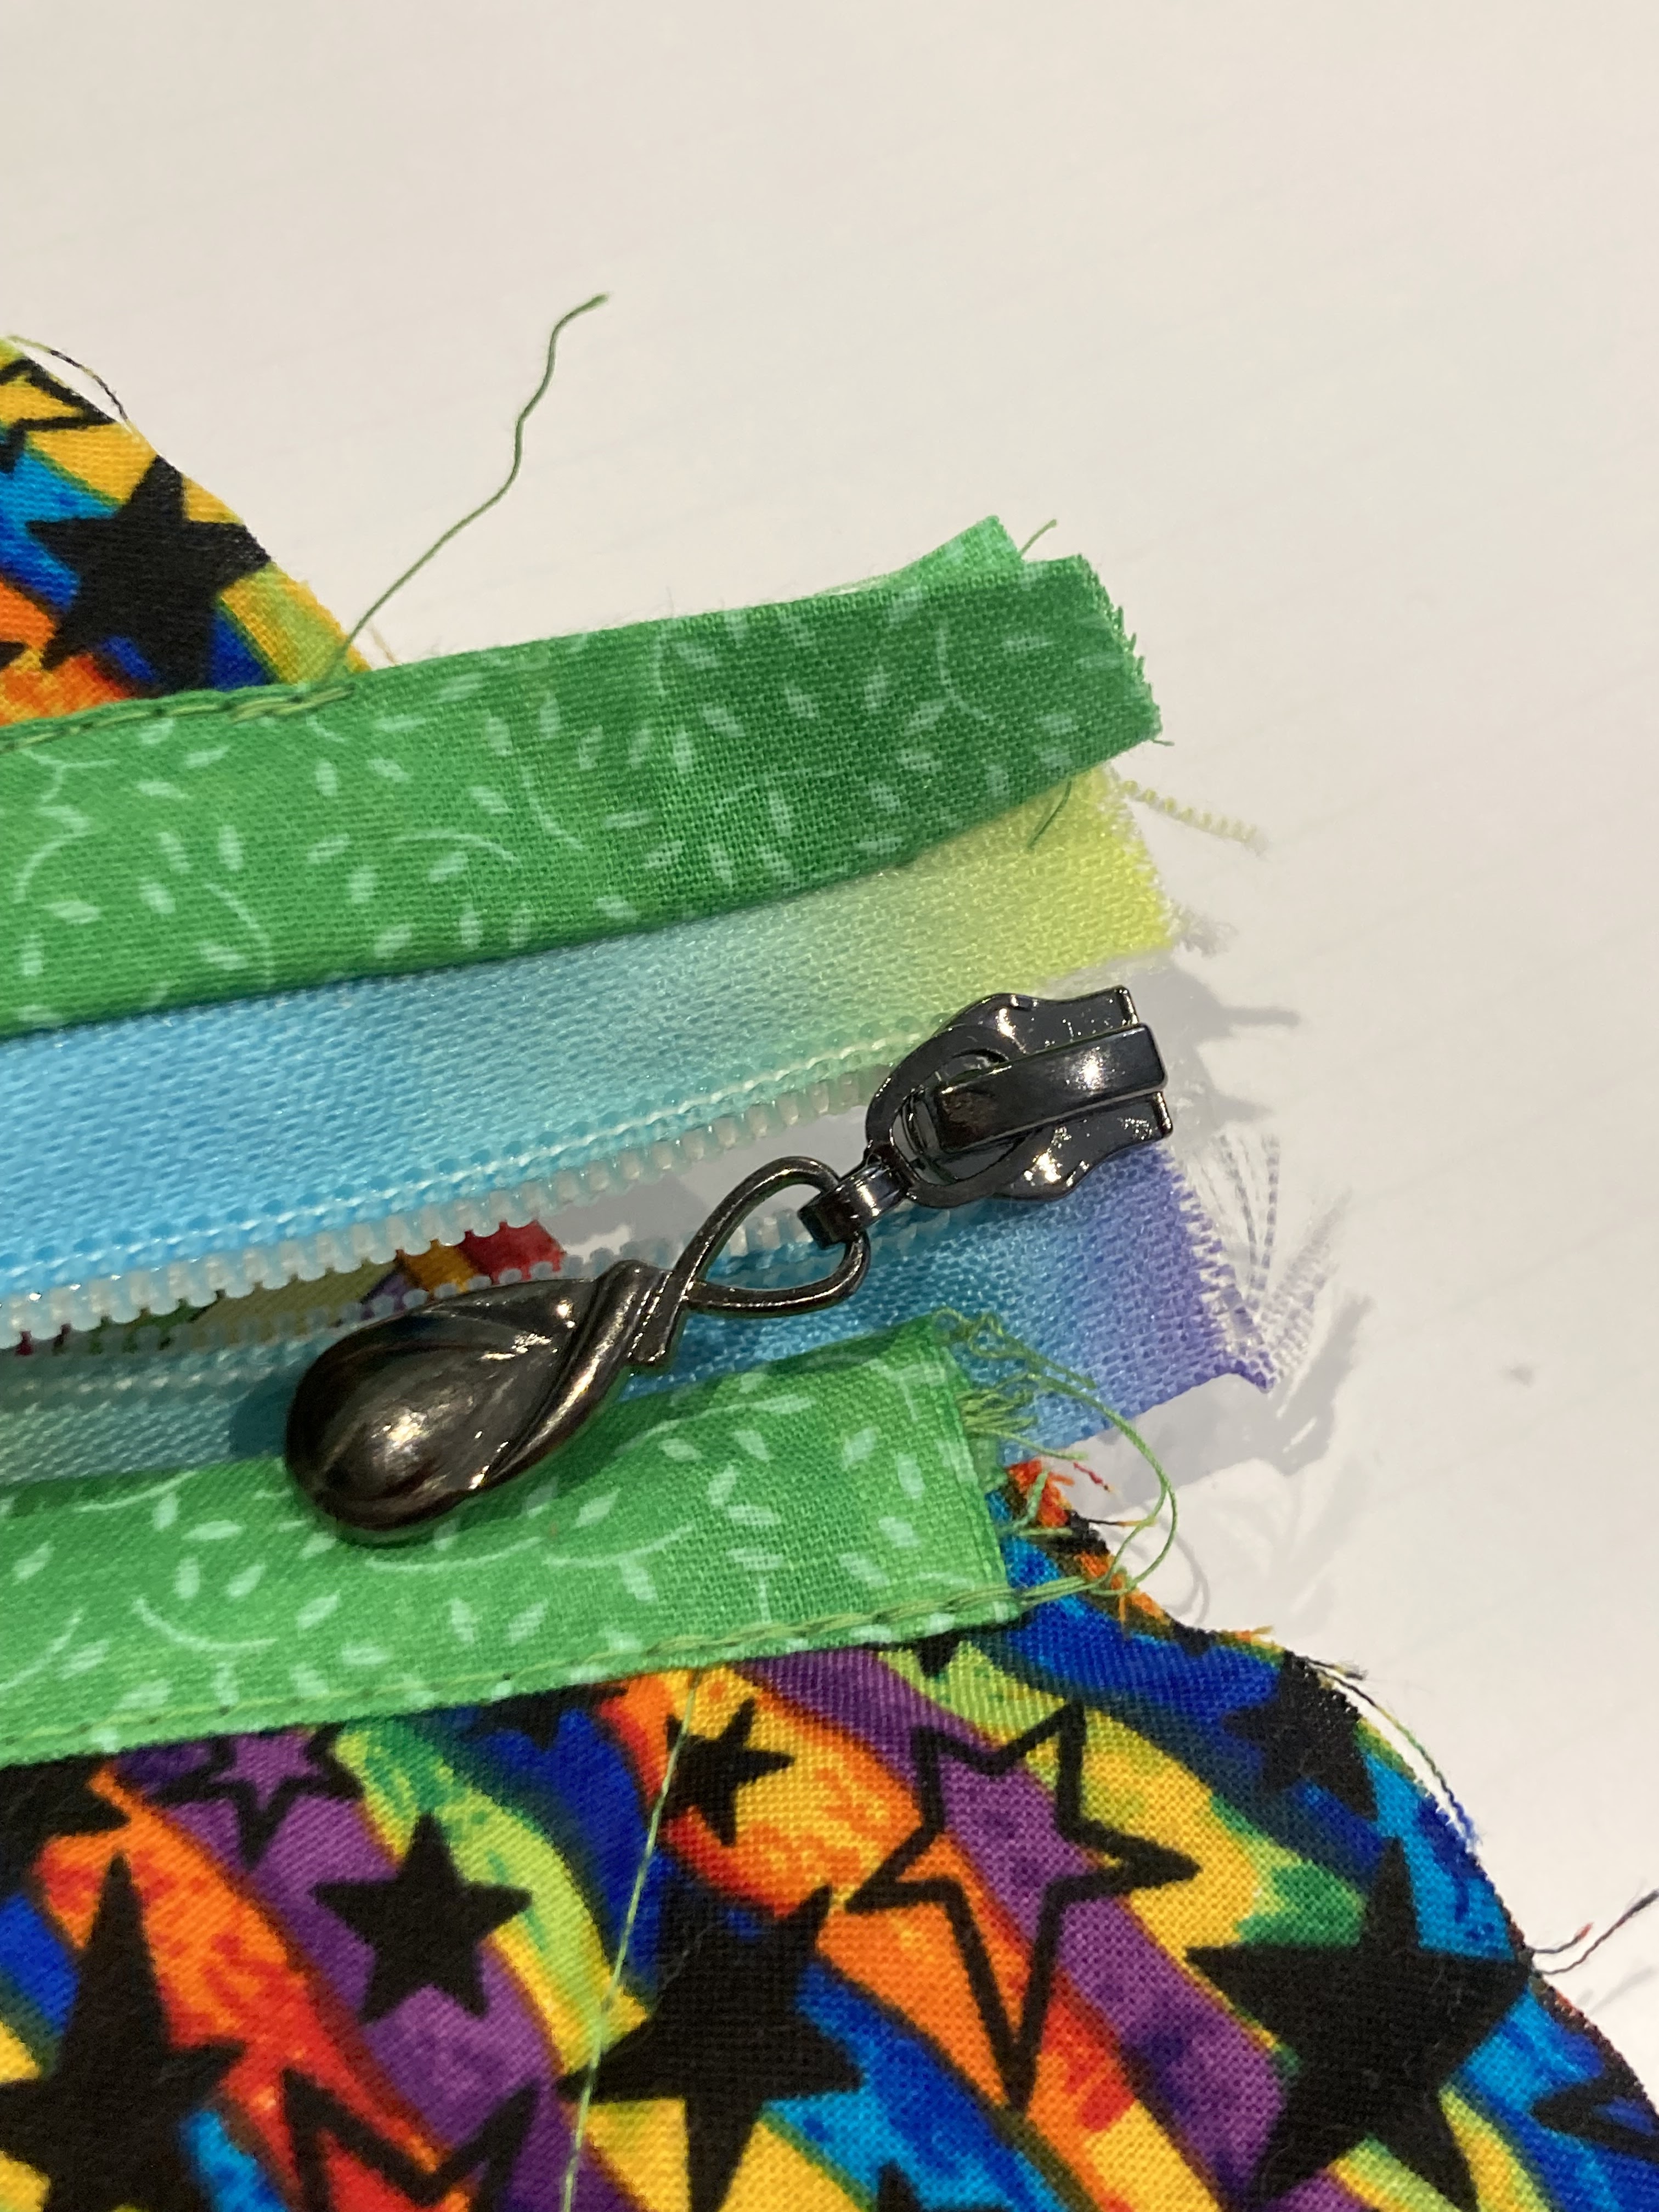
Slide the zipper pull on to one side with the rounded edge first.

Have fun getting the second side on.
Fold over and trim the side edge even

Now to make the wrist strap. Using the 3” wide bias folded piece top stitch down each edge. Then cut a 3 “ length. Thread through a ring / d ring. Attach to the side seam edge about 1” from the top of pouch.

Turn wrong side out making sure you leave the zip half open.
Align the edges and pin or clip.

Attach the binding as you would on a quilt.

Fold through the left over wrist strap and attach around the ring.
And you are done.


Now for the second one. You can make it exactly the same or sew the zip to the opposite side of the quilted piece

This will make another pouch but with reversed colours and zip opening from the other direction

2 easy identical pouches finished

15 comments:
These pouches are great aren't they! Yours look very colourful. xx
Great colourful pouches.
Estupendísimo tutorial, gracias por compartir y BESICOS.
Interesting & a great little pouch for a tablet. Thanks, take care & hugs.
They looks fabulous JO. Thanks for sharing the great tutorial. xx
Wow! Those are bright and fun.
Such fun pouches! And those fabrics are really happy. :)
THey look great Jo, thanks for the instructions.
I love the idea of the diagonal zippered pouches for the ipad. Very nice, Jo. It is a great tutorial as well.
I am thinking of you and others this week since I am not at Scrub Stitchin'. There are several of us who are not there this year.
Beautiful and practical sewing! And I just learned a new use for masking tape. Thanks for including all these instructions! Happy Sewing!
Great idea...nice & quick....the zipper pull thing puts me off, but I will give it a go!
Very clever and effective.
Colourful and practical. Well done!
They look great Jo.....
That is super clever .
Post a Comment