Our little gift from Scrub Stitchin’ was a beautiful wooden pin cushion base with all the kit to complete it. We had a design of Sashiko, the fabric, thread and filling. I did keep it in its packet for a while.

The time has come to make a start. I like this design

Print out the pattern
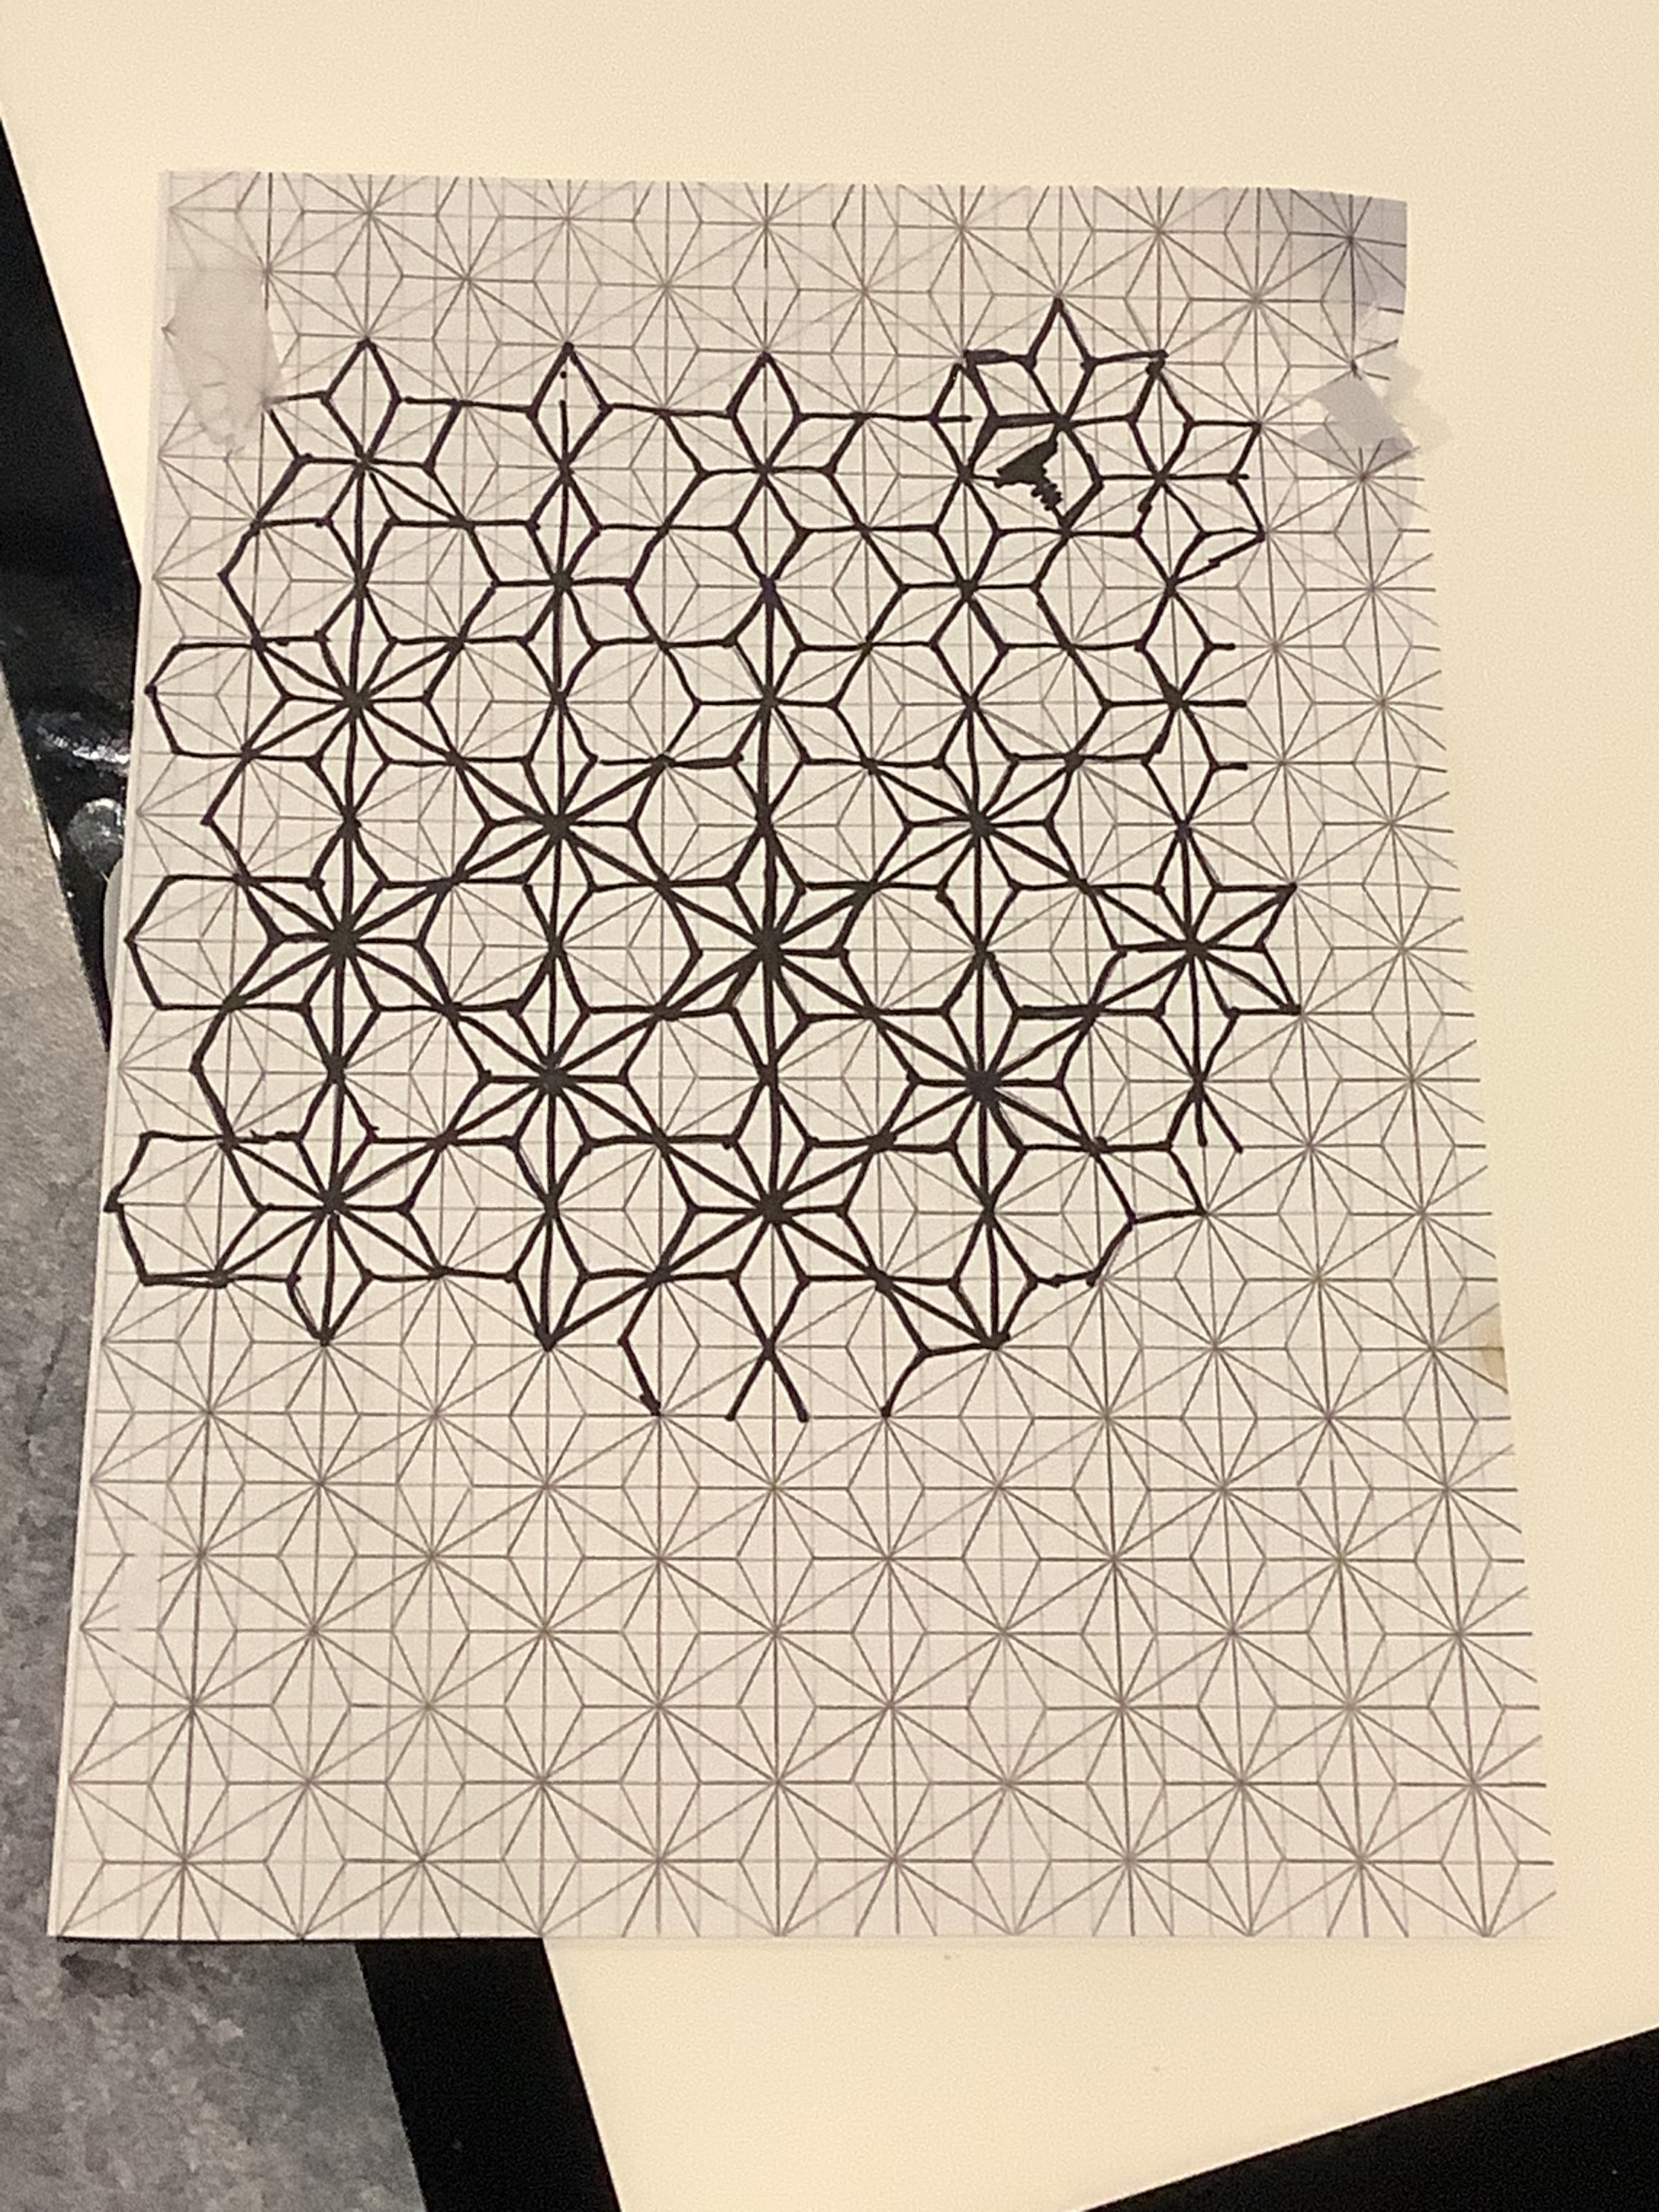
Trace it on to wash away.

Mark a 6.5” circle to show where the stitching has to go


Place it on the Open weave fabric and stitch away

I have rinsed the wash-away away and cut the circle out. I also wanted to make a bag for the crushed walnut shells for the centre of the pin cushion.

I have a large bag of finely ground walnut shell and a smaller amount of crushed shell to mix in.

The walnut shell has now been made and fully enclosed.

Now to fill the cushion with toy fill and pull up tight

Push it into the hole and it’s ready to use.

Thanks Chooky, I love it.
Chooky organises the Scrub Stitchin’ retreat and inspires us all to sew along with her
Kit by Debbie Donegan
Everything Country Telegraph Point NSW
Go and have a look at what she gets up to over on Instagram
@everythingcountry___ (3 underscores) OR her brand new Website www.everythingcountry.com.au
…it is continually being loaded with new things everyday!!
10 comments:
I was so taken with these clever pincushions when I saw them after your retreat. Great job on the stitching. It looks wonderful in that lovely wood setting.
It looks wonderful. And filling it with the walnut shell is a great idea.
The sashiko looks great in a variegated thread. Cool pincushion!
That turned out well Jo.
That looks beautiful, thanks for showing the step by step instructions.
Looks great Jo
Pretty handy pin cushion.
Beautiful sashiko Jo, love the pincushion, mine is still languishing.
What a beautiful pin cushion you made!!
Thanks for showing all the steps. it's gorgeous
Post a Comment