Our group had a workshop to make these project boards months ago. I bought the corrugated board and have had it sitting there as I didn’t make it to the workshop.
Well I have made not 1 but 3 project boards. Here are the steps of how I did them.
I went to office works and bout a sheet of board for about $10.
Once I decided on the sizes I wanted I just cut it up with my rotary. I knew I needed one for my Storm at Sea blocks. When I had all the pieces laid out on my table, when making my ship blocks, I turned on the ceiling fan and pieces went everywhere. This is how I decided on the first size. Now to make a 12” block with lots of pieces you need a larger board. This cut was made first. I just measured the width of the board and cut the first square. 20”. Then with the left overs I got an 11” square and a 9” * 11” piece.
Next I got out my scrap wadding and a light spray of glue to stick them together.
Trim them to size.
Went and got out my scrap bindings left over from other projects.
Now, measure and find a length suitable or join some together to get the required length.
Off to the ironing board and iron the edges into the centre like a bought bias binding.
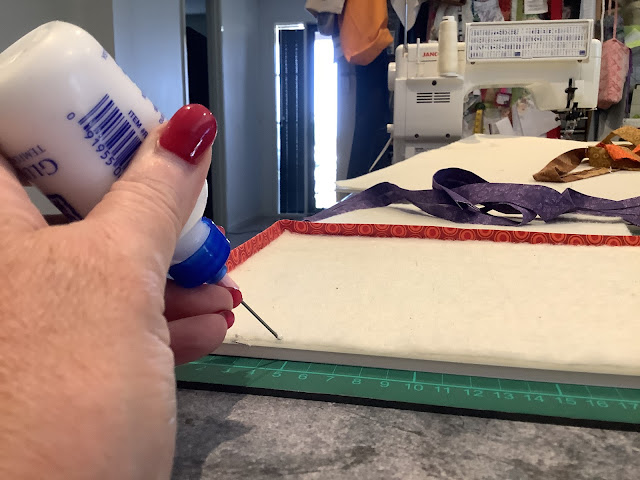
I found it easier to put around the edges little dobs of basting glue. It dries fast, you don’t use much and if you make a mistake you can take it off. Dob the glue and press the binding around the sides of the boards.
You don’t need much of this glue.it is usually used for appliqué.
Once all around the edges I was told to use a hot glue gun to glue the rest down. I have never had any luck when using hot glue guns. I find the glue is nearly dry before I even get the fabric onto it. 
Then everything falls apart. So scrap that idea.
I use white craft glue, school glue or pva. It works for me. Put it all the way around the edges and fold fabric over to stick to the board. I found it was best to put the glue close to the edge of the binding fabric. It holds better.
I used binding clips, clover clips, whatever you know them as, to hold it in place. Repeat on the other side.
Once you have got all the way around remove all the clips, put a cutting ruler or something flat and bigger than the boards top of it. Put heavy boxes or weights on top until completed dry.
I now have 3 great versatile boards to use.


11 comments:
They look great and I'm sure they'll get plenty of use.
Very handy! What sort of board is it? Just a thick cardboard?
I love my design boards...I do need some bigger ones...maybe one day. I found the old-style Clag glue really handy for these ...and I think the hoy glue gun would not only be difficult to manage (the glue gets really hot) - but I think it would also form a ridge which the other glues dont.
They look good. Nice finish.
That’s a great tutorial. I mAde some from the For Sale sign when we moved. I used hot glue, but like your method better. The y turned out great.
Great finish Jo, they will be really useful.
What a bargain for $10.00.
A great tutorial.
I love my design boards and use them for all kinds of things around the sewing room. And when hubby's aunt passed a few years back (she was the one who taught me to make design boards), her daughter asked me if I wanted her Mom's design boards because she didn't use them. YES! She had about 20 of them. I can stack up a whole quilt's worth of blocks when I put my boards in the mix. They are so handy!
These will be very useful.
Well done Jo, you are full of brilliant ideas!!
love my project boards........I have also used hard art canvas boards.......you can get them at the cheap shops also........
Post a Comment